

Sticker residue on wood is a small problem that invites a big mistake: using a strong solvent, sharp scraper, or soaking-wet cloth before identifying the surface. The safest approach is deliberately unexciting. First establish whether the wood is protected by an intact finish, then begin with the least aggressive method and add only as much moisture or product as the finish can handle. That sequence protects the coating that gives a tabletop, cabinet, floor, or frame its color and sheen while still giving the adhesive a chance to release.
This guide is for common price labels, tape remnants, decal glue, and shipping-label residue on household wood surfaces. It is not a promise that one method suits every finish: solid wood, veneer, laminate, painted wood, and older furniture can react differently. Read the care instructions supplied by the furniture, flooring, or finish manufacturer when they are available. When the finish is unknown, damaged, waxed, oiled, shellacked, unfinished, or especially valuable, treat the residue as a preservation question rather than a quick-cleaning task. A small hidden test and a patient pause are far easier to live with than a cloudy patch or lifted finish.
Practical note: Choose the method for the actual surface, read the product and manufacturer instructions, and test a discreet area whenever a finish is uncertain.
Start by identifying the wood surface—not just the sticky spot
The word wood does not tell you enough to choose a cleaner. A dining table may have a clear protective finish over solid wood or veneer; a cabinet door may be painted; a floor may be factory-finished; and a flat-pack shelf may be wood-look laminate. The adhesive is sitting on whatever coating is at the top, so that coating—not the material underneath—is what you need to protect. Look for a care tag, invoice, finish record, or manufacturer page before reaching for a cleaning product.
A sound, smooth, clear-coated surface is usually the simplest case. That does not mean it is invulnerable. Dull areas, tiny cracks, raised grain, peeling paint, worn edges, or a tacky finish are signs to become more conservative. Adhesive and liquid can work into those openings, and rubbing can make a localized problem more visible. If a sticker crosses a seam, inlay, damaged edge, or veneer bubble, avoid trying to flood or force it free.
Pause and seek finish-specific advice for unfinished wood and for surfaces maintained with wax, oil, or shellac. Those finishes are handled differently from a sealed polyurethane or varnished surface, and a cleaner suitable for one may not suit another. For an antique, a collectible, a musical instrument, a fine-wood veneer, or furniture with an uncertain history, a qualified furniture-restoration professional is the cautious next call if gentle lifting does not solve the issue.
- Finished or sealed wood: start with dry lifting and a barely damp wipe; test any adhesive remover before use.
- Painted wood: treat the paint as the finish; test first because rubbing or a solvent may alter sheen or color.
- Laminate or veneer: follow that product's care guidance and do not assume it behaves like solid finished wood.
- Unfinished, waxed, oiled, shellacked, cracked, or lifting finishes: stop before using water, oil, or adhesive remover unless the surface guidance specifically permits it.
Set up a low-moisture, low-abrasion toolkit
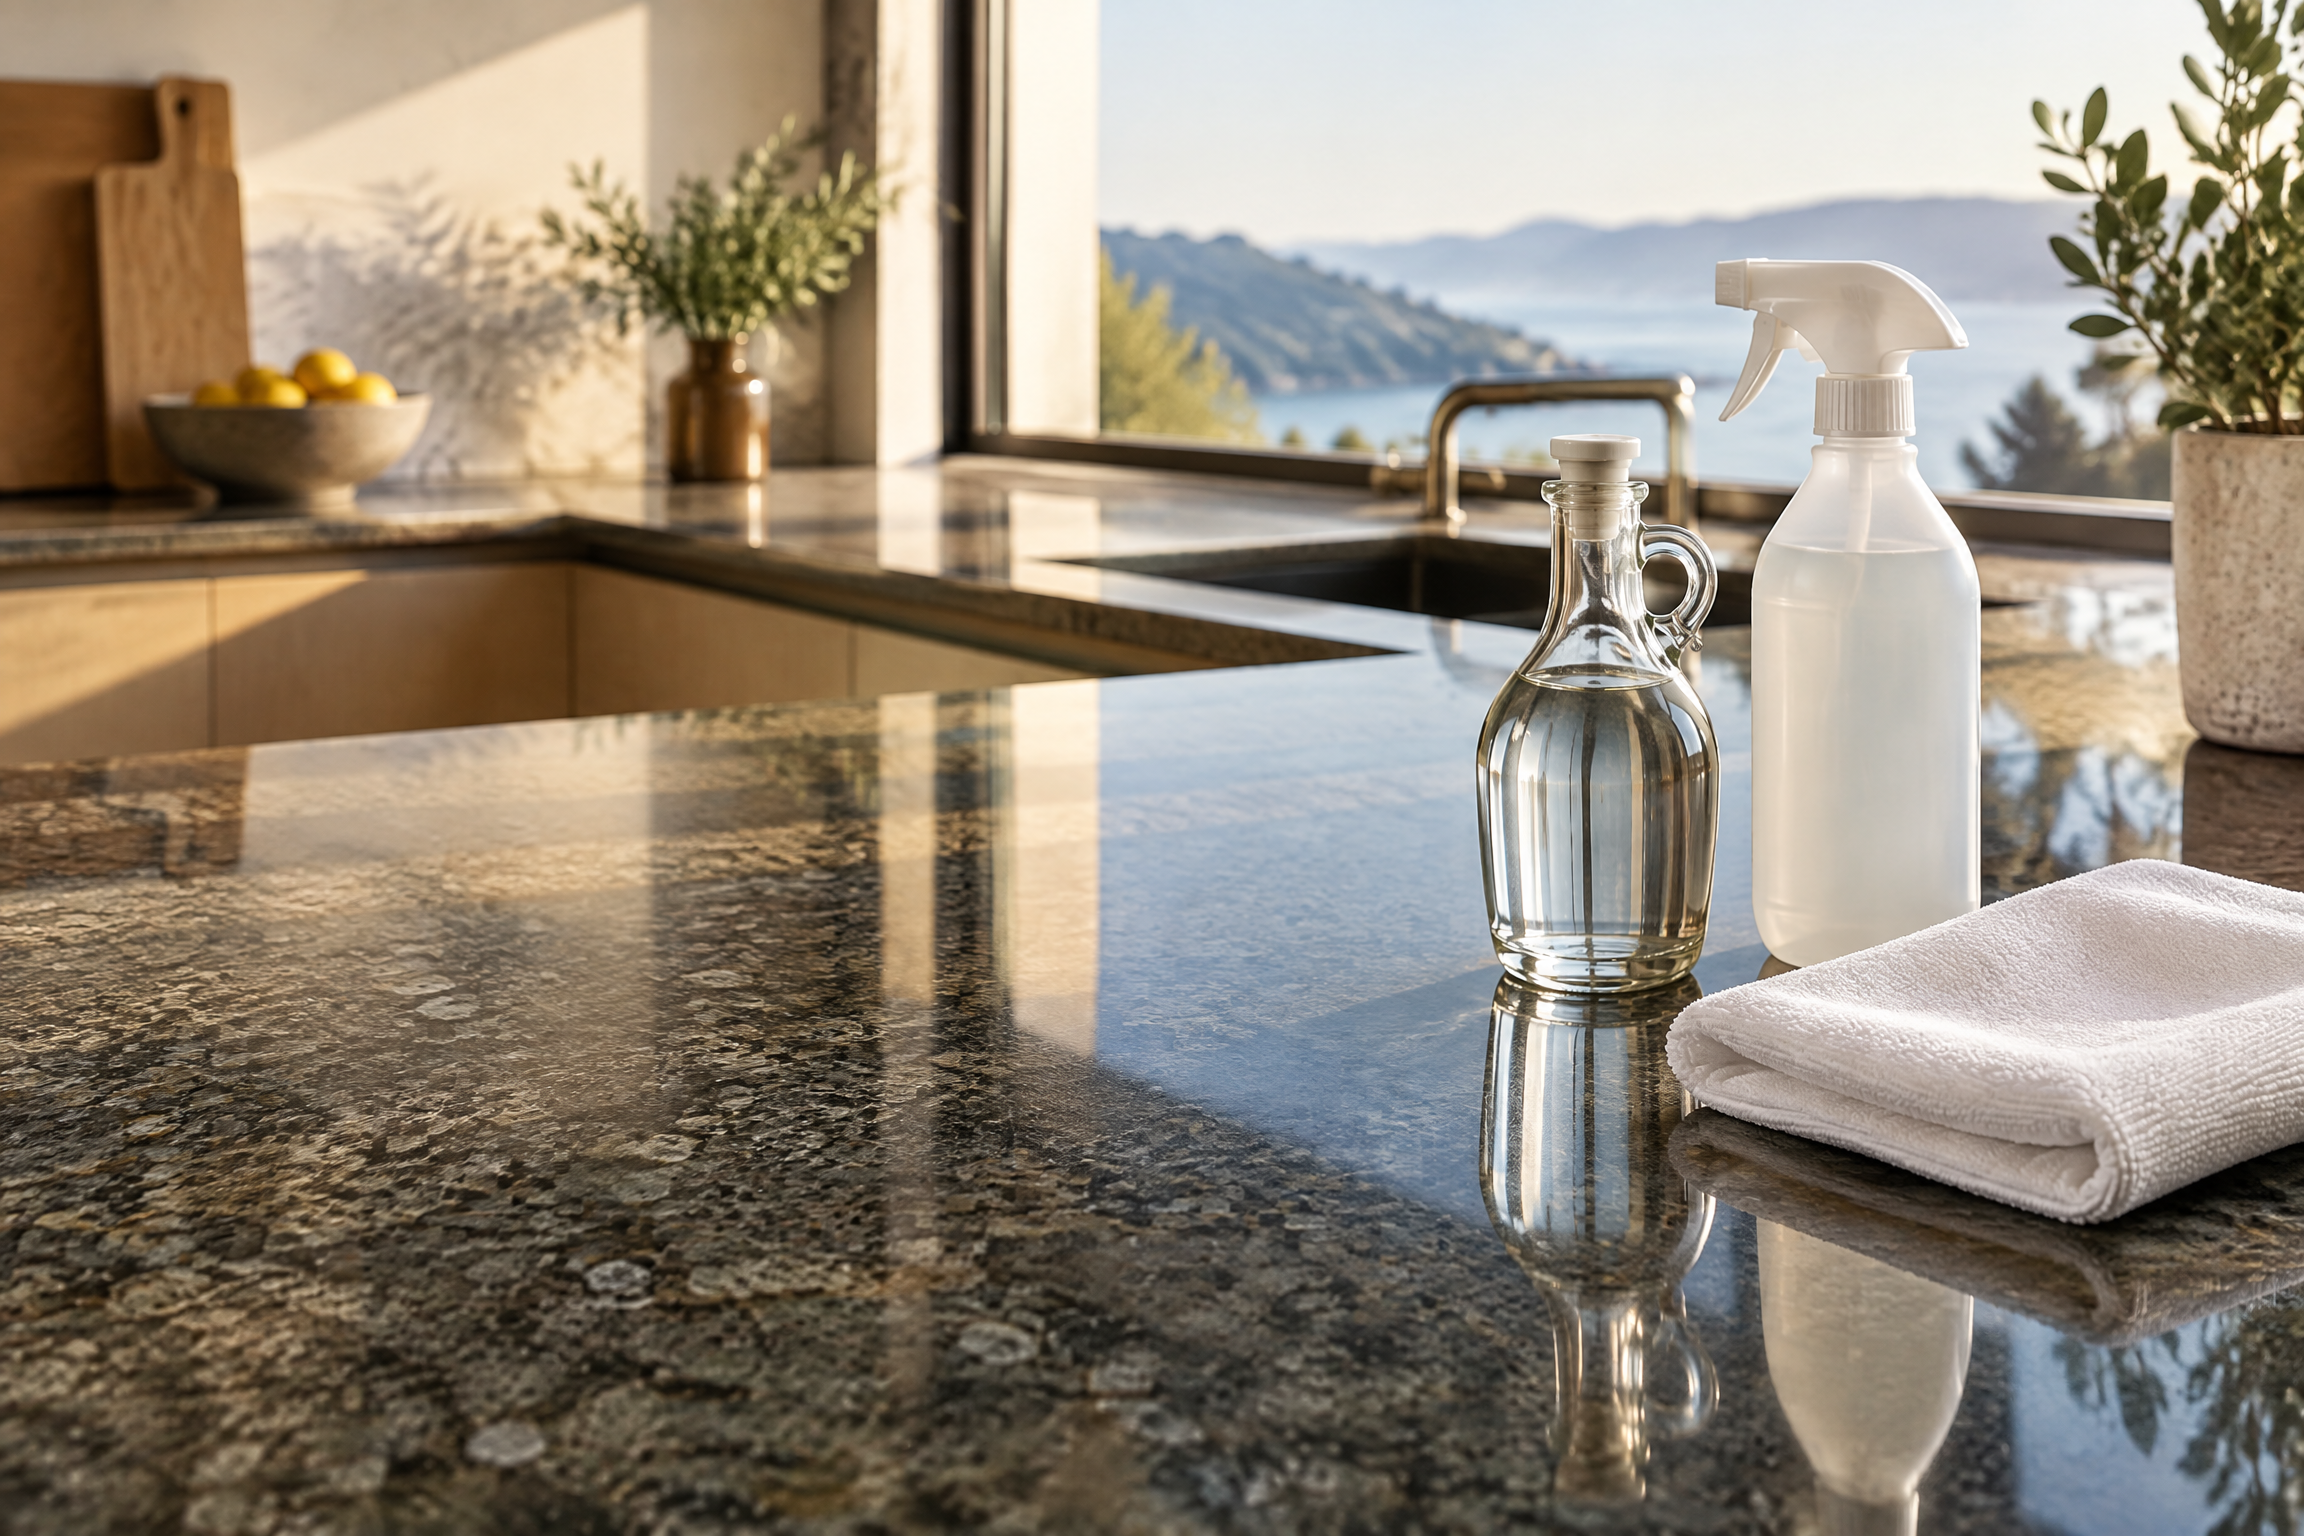
A restrained kit helps keep a sticky label from turning into a refinishing project. Gather two clean, soft microfiber cloths, a bowl of clean water, a small amount of mild dish detergent if the surface-care instructions allow it, cotton swabs or a soft cotton cloth for a test, and a plastic card with a flexible edge. Have a dry cloth ready before you begin. The point is to control where moisture and product go, not to add more supplies.
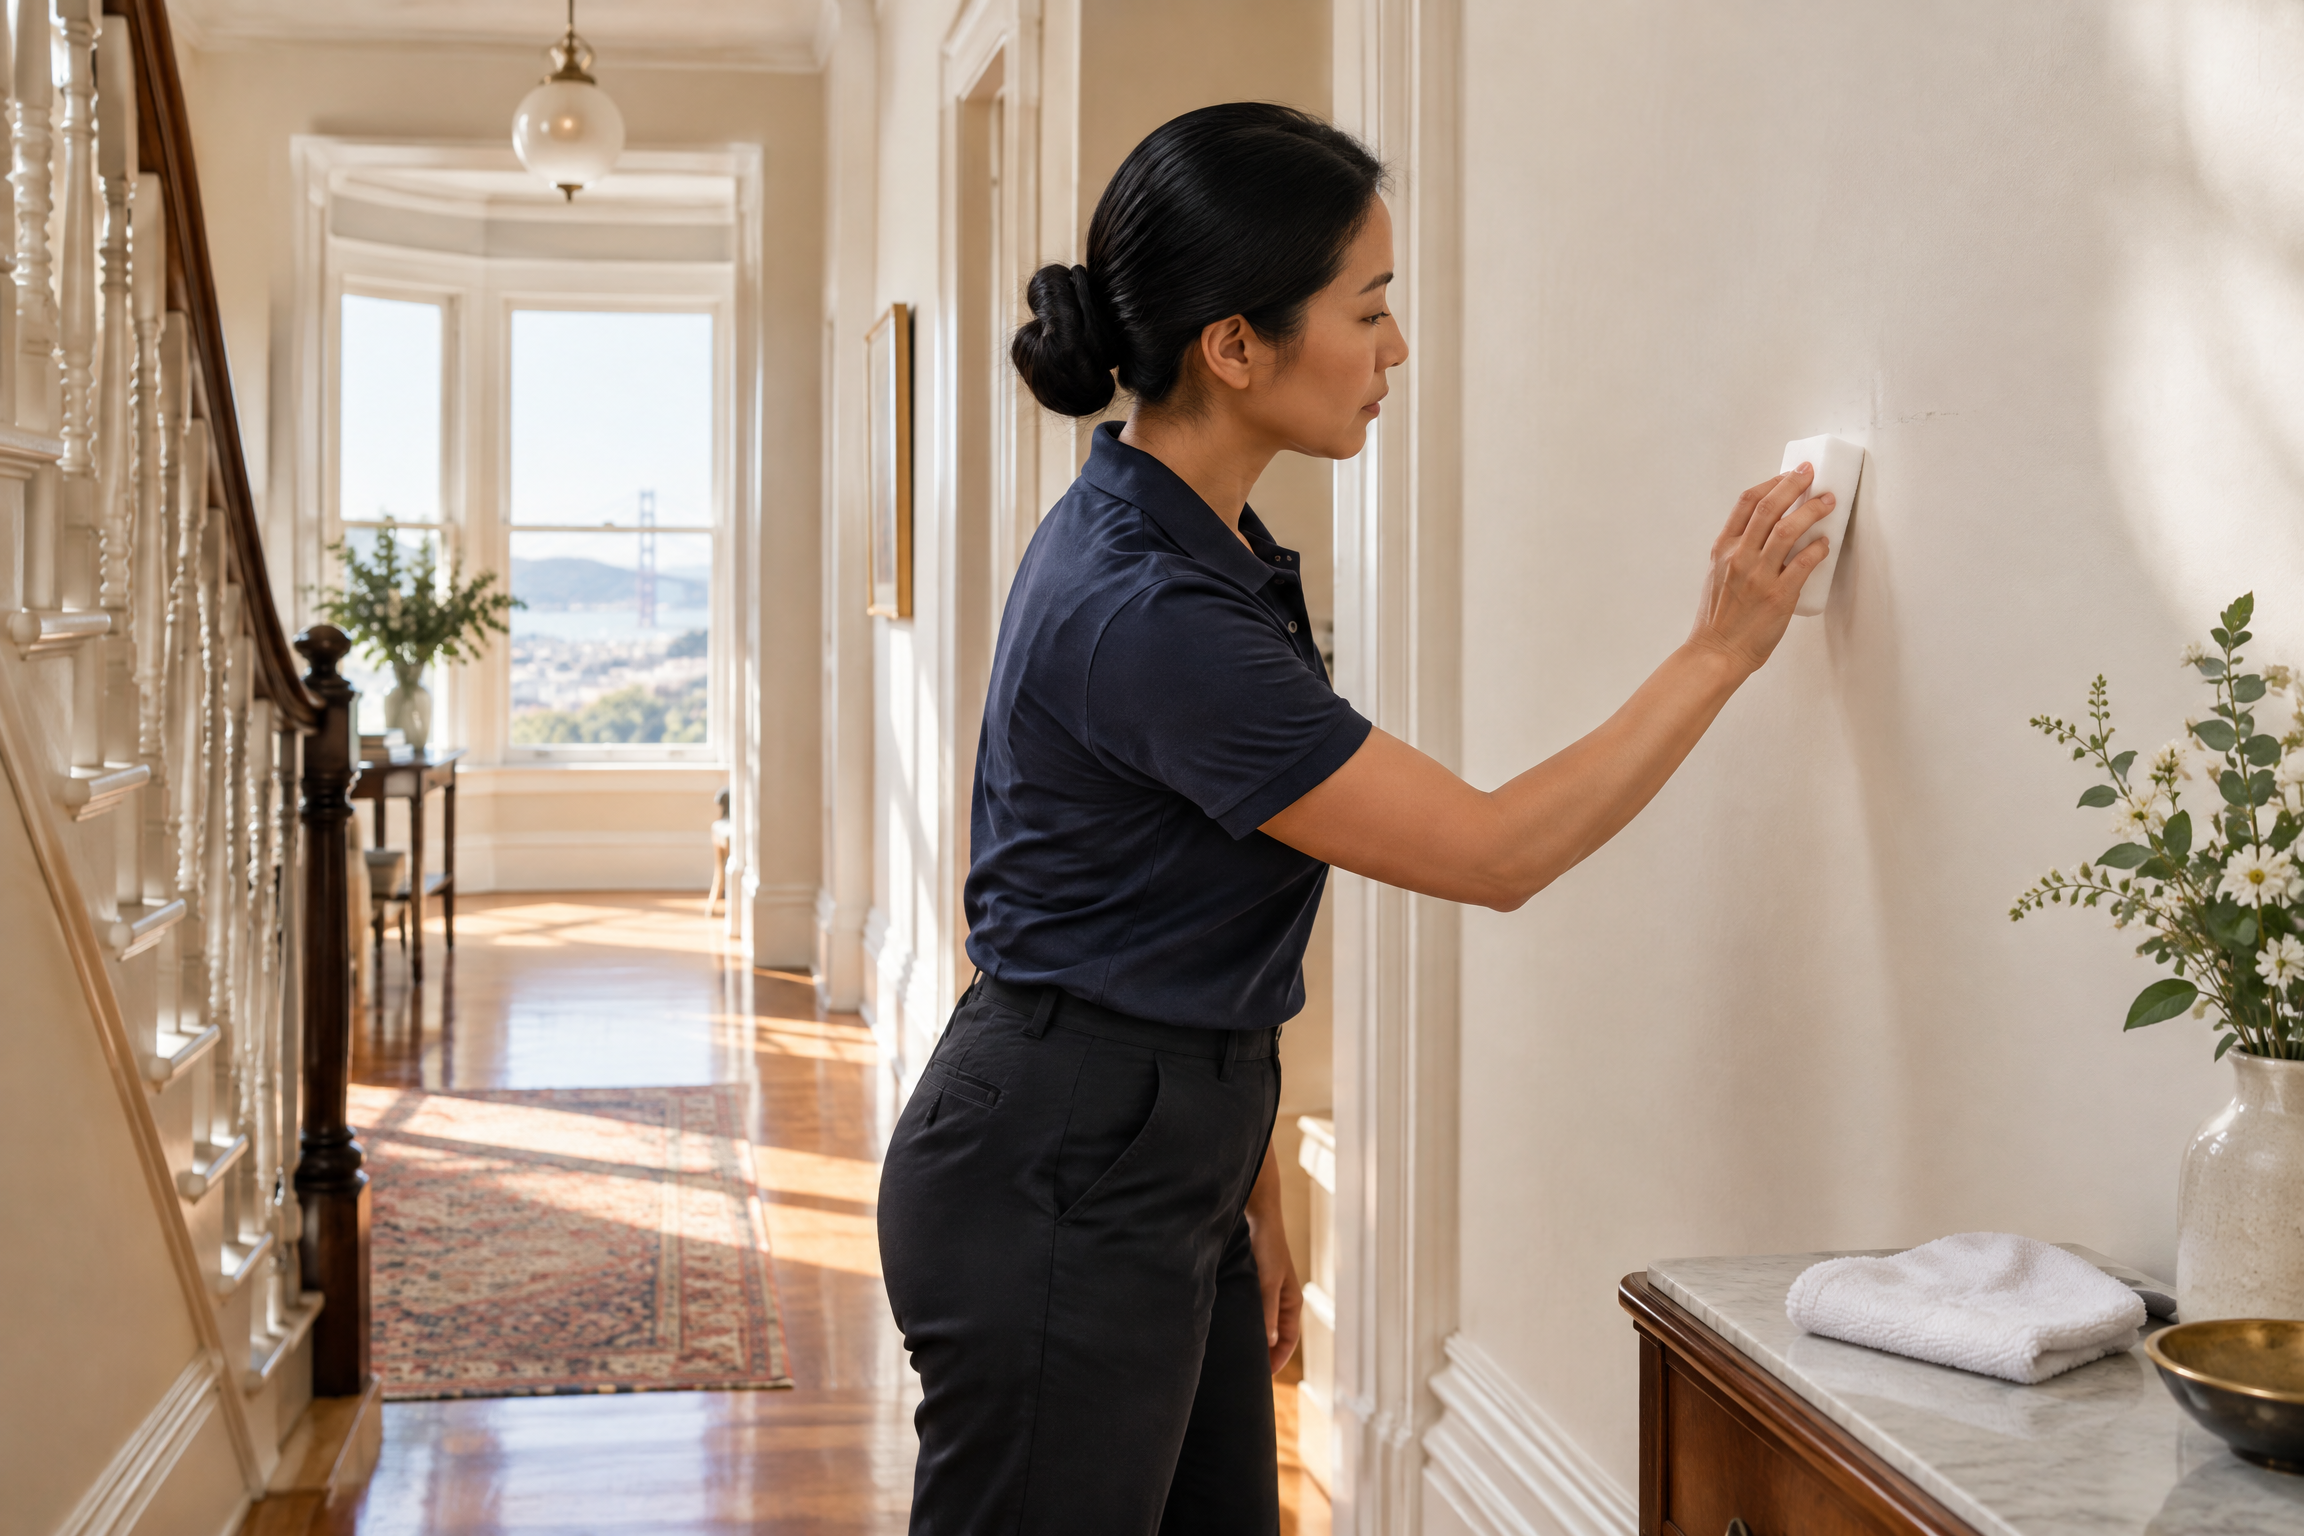
Skip kitchen scourers, melamine foam, steel wool, abrasive powders, and metal blades. Even when the adhesive comes away, an abrasive can change gloss or leave fine scratches that show in angled light. A plastic card should be used nearly flat to the surface and only after the sticker has begun to lift. If the card catches, stop rather than increasing pressure. The same rule applies to fingernails: use a light touch at a loose corner, not a digging motion.
Work with good natural or overhead light so you can distinguish remaining glue from a change in sheen. Protect the surrounding area with a dry towel, especially when working on a vertical cabinet face or near a drawer seam. Remove food, paper, and textiles from the work zone before using any commercial adhesive remover, and keep the product container and its directions close by.
- Use separate cloth areas for loosening, wiping away residue, and final drying so adhesive is not spread across the finish.
- Dampen a cloth rather than spraying or pouring liquid directly onto wood.
- Avoid a long cleaning session on one small spot; inspect often and let the surface dry between attempts.
- Do not combine cleaners or improvise mixtures. Follow the label of the one product you elect to use.
Test first, then lift the paper layer before treating the glue
Choose an inconspicuous location on the same finished surface—inside a cabinet edge, under a tabletop lip, or on the rear face when practical. Use the exact cloth, water amount, and product you intend to use. Let the test area dry completely, then check it from more than one angle for dullness, color transfer, softening, stickiness, or a changed sheen. A clean-looking wet test is not enough; the finish should look and feel normal after it dries.
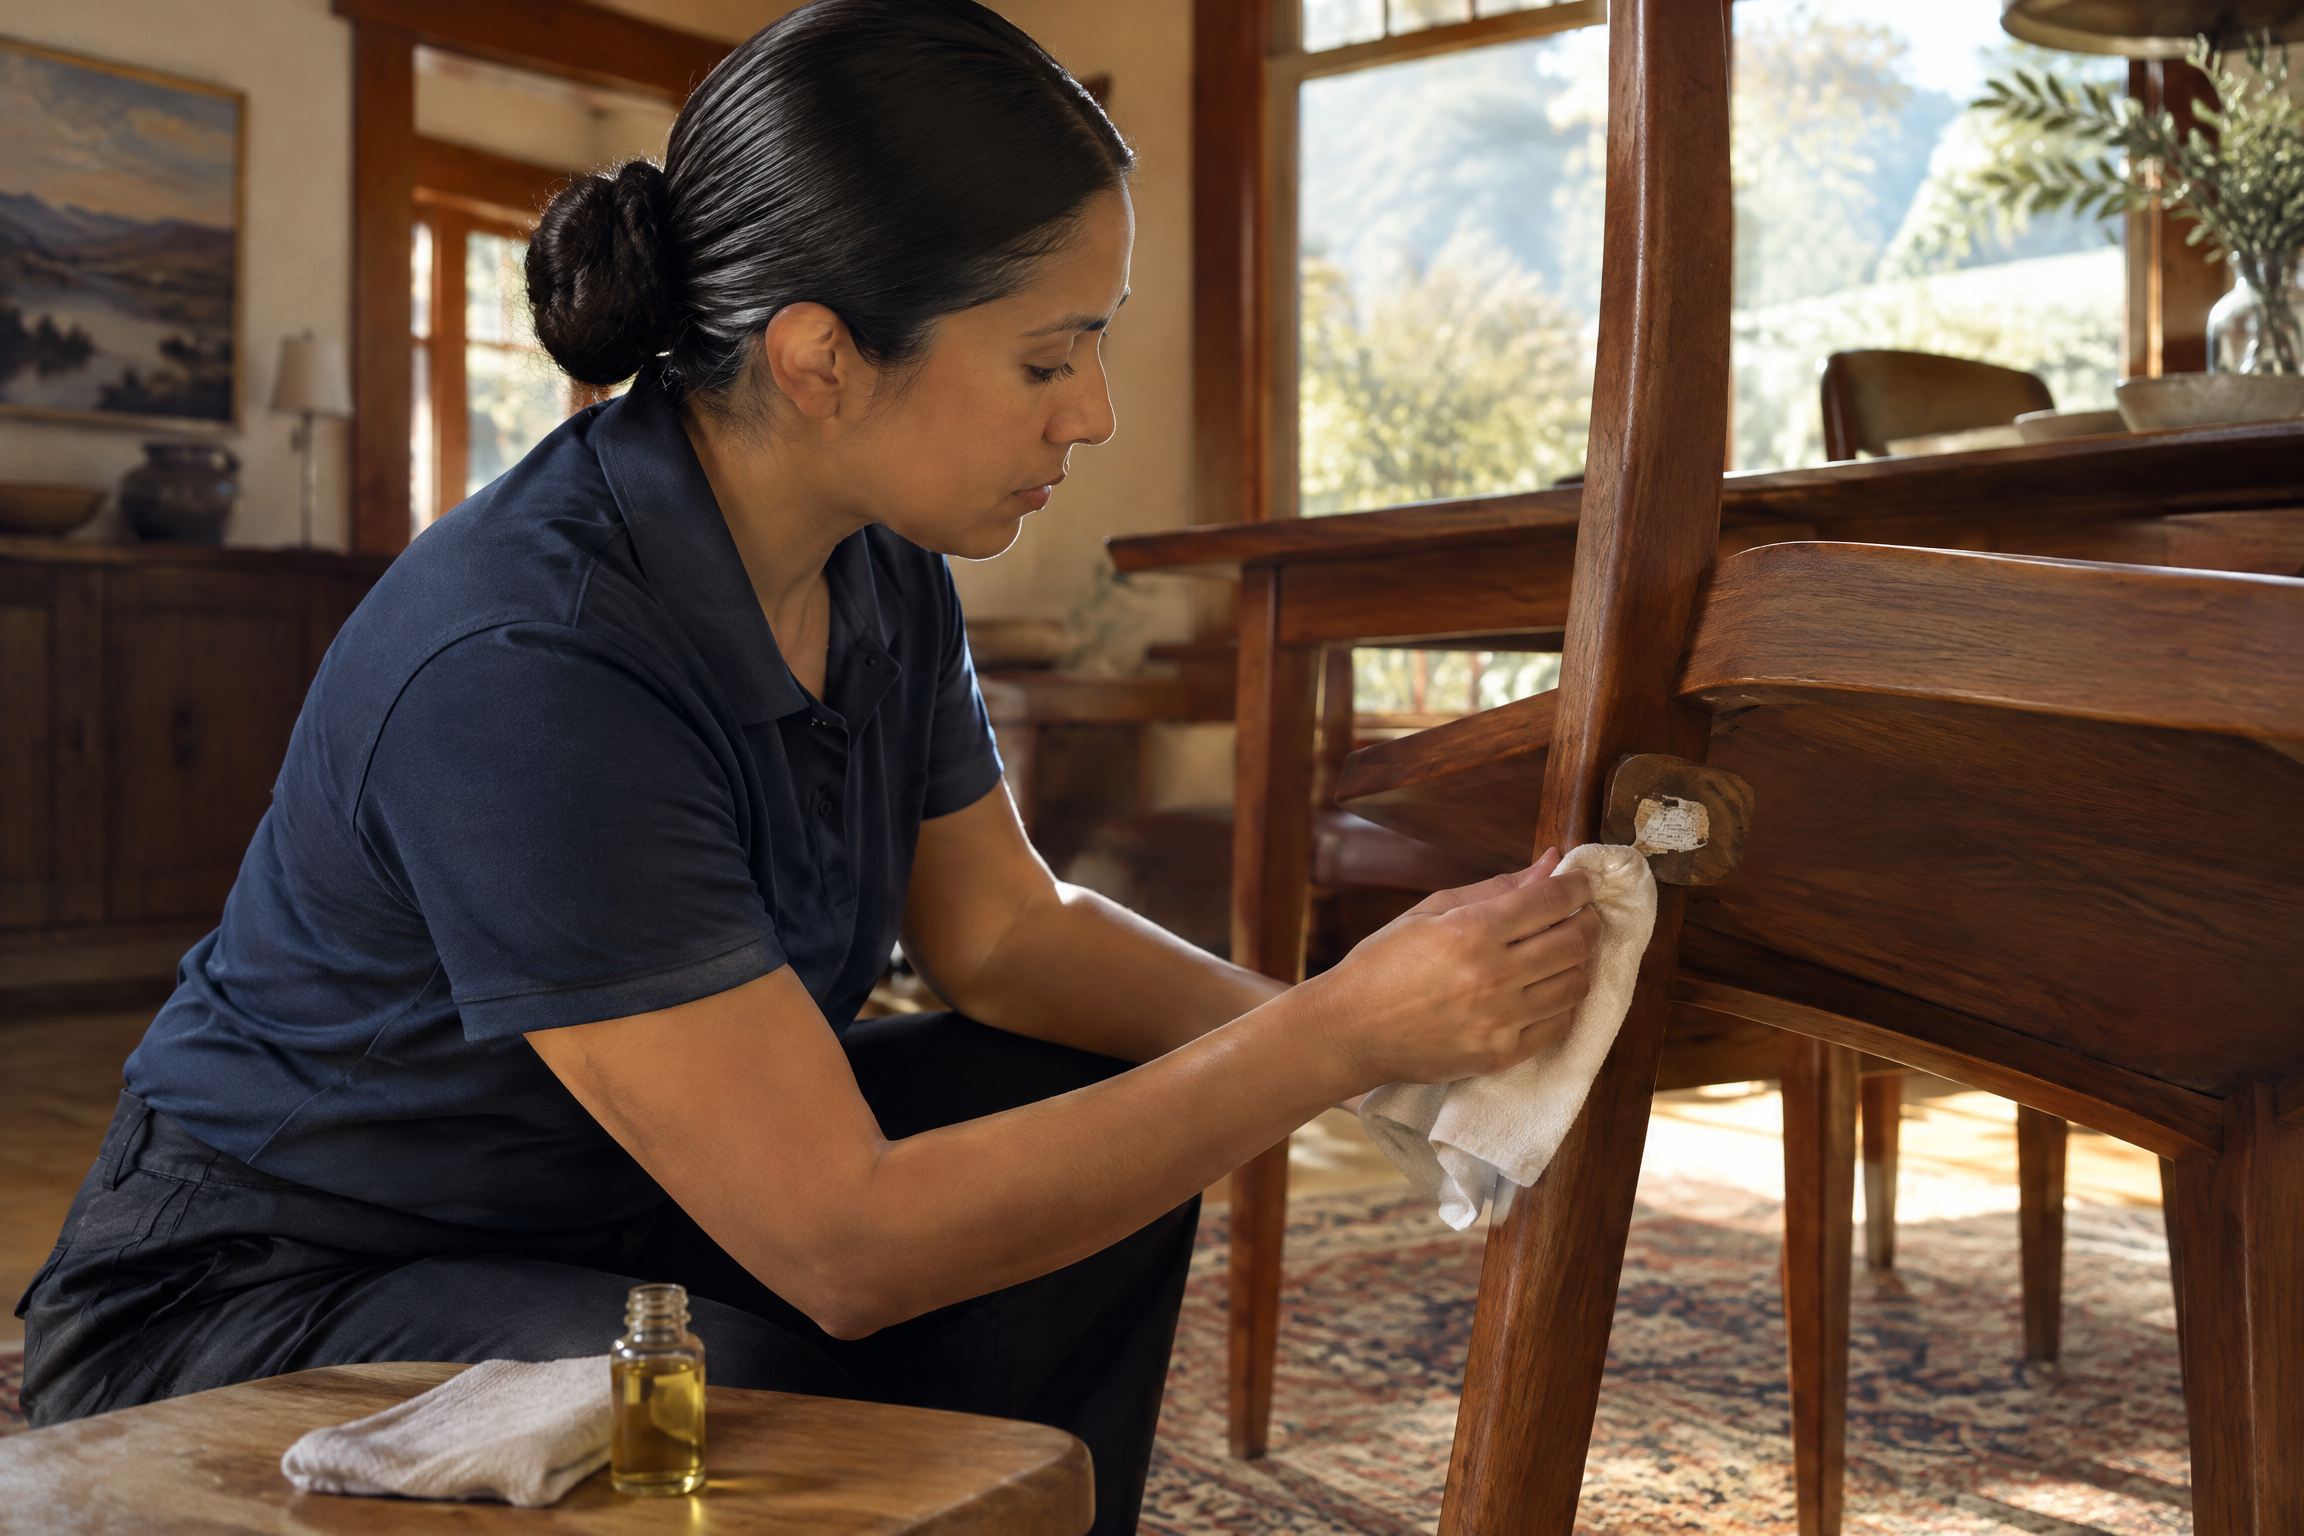
If the test is uneventful, begin with the sticker itself. Gently lift a loose corner with a fingernail or a flexible plastic card held almost parallel to the surface. Peel slowly back over itself rather than pulling straight up. This reduces tugging on the finish and helps separate the paper face from the adhesive. Stop if paper fibers stay behind in a broad patch, if paint begins to lift, or if the edge feels firmly bonded.
For a label that resists dry lifting, press a clean cloth that is only lightly dampened with plain water against the paper for a short, controlled interval. The goal is to soften the paper face, not to wet the wood. Remove the cloth, dry the adjacent area, and try lifting again. Do not leave a wet cloth in place, soak a seam, or use this step on a surface whose manufacturer advises against moisture.
- Peel slowly and low, keeping the lifted paper close to the surface instead of pulling upward.
- Work from a loosened edge in small passes; do not try to remove the whole label in one forceful pull.
- If residue remains after the paper is gone, that is normal—move to targeted residue cleaning rather than scraping harder.
Sticker-residue planning table for common wood situations
Use this as a conservative decision aid after locating the surface-care guidance. It is intentionally organized by finish condition and risk, so the next step is not simply “use a stronger cleaner.”
| Surface or condition | First approach | If residue remains | Avoid or stop when |
|---|---|---|---|
| Known, intact finished wood | Hidden-area test; gently lift the paper with a fingernail or flexible plastic card held flat. | Try a barely damp cloth with permitted mild detergent; then consider a label-approved adhesive remover after a fresh hidden test. | Avoid pooling liquid, metal blades, abrasives, and direct product application. |
| Painted cabinet, trim, or furniture | Test a damp cloth in a hidden place and peel slowly from a loosened edge. | Use only a product whose label and paint-care guidance support the surface; apply sparingly to a cloth. | Stop if paint transfers, gloss changes, or an edge lifts. |
| Wood veneer or laminate | Find the maker's care guidance and test a dry-lift method in a concealed area. | Proceed only with a method the manufacturer permits; keep moisture away from seams and edges. | Avoid soaking, prolonged rubbing, and any product not approved for the surface. |
| Unfinished, waxed, oiled, shellacked, damaged, or unknown finish | Do not wet or solvent-clean the visible spot; identify the finish or contact a qualified professional. | Seek finish-specific advice rather than escalating at home. | Stop before water, oil, or adhesive remover can penetrate or alter the finish. |
| Antique, collectible, instrument, or high-value piece | Document the sticker and consult the maker, dealer, insurer, or a furniture-restoration professional when appropriate. | Use only professional or item-specific guidance. | Avoid experimenting with heat, solvents, scraping, or household mixtures. |
Use the gentlest residue-cleaning sequence that fits the finish
Once the paper is off, first try a barely damp microfiber cloth with a trace of mild dish detergent, only where the surface-care instructions permit it. Wipe with the grain when there is visible grain, using light, short passes. The cloth should be damp enough to pick up residue, not wet enough to leave beads or a puddle. Follow immediately with a second cloth lightly dampened with plain water if needed to remove detergent, then dry the spot fully with a clean microfiber cloth.
Inspect after the surface is dry. If the residue is reduced but still slightly tacky, repeat one gentle pass rather than increasing pressure. Adhesive often comes away in stages. A residue that does not respond to a few light attempts is useful information: either the glue needs a finish-compatible adhesive remover or the surface needs a professional assessment. Continuing to rub a stubborn patch can wear a visible difference into the coating.
Avoid treating cooking oil, mayonnaise, peanut butter, toothpaste, baking-soda pastes, or alcohol as universal wood solutions. Household advice often ignores the finish beneath the adhesive, and an oily film can create a separate cleanup issue. Likewise, a stronger solvent is not automatically a better answer. Choose a product because its label and the surface manufacturer say it is appropriate, not because it is available in a drawer.
- Use minimal moisture and remove it promptly.
- Wipe in the direction of the grain where applicable, without polishing aggressively.
- Dry completely before deciding whether residue remains or the finish has changed.
- Stop at the first sign of color on the cloth, cloudiness, softness, or a changed sheen.
If needed, choose an adhesive remover by compatibility—not strength
A commercial adhesive remover can be a reasonable later step for a compatible, finished surface, but it is a selection decision rather than a universal fix. Read the current product label and safety directions from start to finish. Look for an explicit statement that the product is suitable for the particular surface category, confirm any listed exclusions, and keep the contact time and application method within the label directions. The finish manufacturer’s directions take priority when they are more restrictive.
Goo Gone Original is one recognized adhesive-remover example: its manufacturer identifies finished wood as a compatible surface and directs users to test an inconspicuous area first. That does not make it suitable for every piece of wood furniture, every coating, or every version of the product. It should be treated as an example of the kind of label-specific compatibility information to look for, not as an endorsement or a substitute for the furniture maker’s care advice.
For a successful test, put the smallest practical amount of the chosen product on a soft cloth or cotton swab rather than dispensing it onto the wood. Touch only the residue, use a light motion, and inspect as you go. Do not let product pool along edges, seams, hardware, cracks, or veneer joints. Remove any product residue as the label directs and dry the area. If the test changes color, gloss, or feel—or if the result is uncertain—do not continue on the visible area.
- Check the exact formula and label; products in one brand family can have different intended uses.
- Use the minimum amount on an applicator, not directly on the wood.
- Observe label precautions, including ventilation and storage directions, and keep the product away from children and pets according to its label.
- Do not use an adhesive remover on a surface the manufacturer identifies as unfinished, porous, or otherwise excluded.
Match your plan to the surface condition and know when to stop
The right choice depends on two variables: how protected the surface is and how stubborn the adhesive remains. The planning table below is meant to slow the decision down. It does not replace product instructions or finish-specific care. In every category, a hidden-area test is the checkpoint that decides whether a method moves from a small trial to the visible sticker.
A clean removal is not always an invisible removal. A sticker can shield one area from light, dust, or ordinary wear, leaving a slight contrast after the adhesive is gone. That difference is a finish or aging issue, not residue to attack with more cleaner. Give the surface time to dry and view it in normal room light before deciding there is a problem to correct.
Stop immediately if you see dye or finish color on the cloth, a cloudy or smeared patch, a sticky or softened coating, lifting paint, raised wood fibers, or a veneer edge that moves. Photograph the area before trying another approach. These signs indicate that continued cleaning could worsen a finish issue. A furniture manufacturer, flooring professional, or qualified restorer can advise on a localized finish repair when preservation matters.
- Do not escalate from a soft cloth to an abrasive just because the residue is slow to move.
- Do not use a razor or utility blade on wood, veneer, laminate, or painted finishes.
- Do not leave a cleaner, damp cloth, or adhesive remover sitting on the surface while you work elsewhere.
- If the item is rented, valuable, antique, or covered by a finish warranty, get surface-specific guidance before using a solvent-based product.
Finish the spot carefully and plan for the rest of the room
After the residue is gone, complete the cleanup step required by the product label or surface-care instructions, then dry the area with a clean cloth. Do not apply polish, wax, oil, or a new protective coating simply to hide a fresh cleaning spot unless the furniture or finish manufacturer recommends that product and timing. The safest result is a dry, residue-free surface that looks and feels unchanged after it has rested.
Sticker removal is also a useful prompt to check the rest of a room for labels, tape on furniture legs, shipping-film remnants, or neglected dust around wood trim and cabinets. Keep the scope realistic: a focused residue problem deserves careful attention, while broader routine upkeep benefits from an orderly room-by-room plan. For help arranging that broader reset, explore professional home cleaning and use the estimate process for an exact service quote.
Going forward, remove new price labels sooner rather than later, save care instructions for new furniture, and test any unfamiliar cleaner in a hidden place. Those habits do not eliminate every sticky surprise, but they make a measured response much easier. When in doubt, preserve the finish first and treat the adhesive as a problem that can wait for the right method.
- Complete the cleaner's labeled aftercare step, then dry the surface.
- Check the result after the spot has fully dried in ordinary light.
- Store cleaning products in their original containers and according to their labels.
- Keep furniture and finish care information with purchase records for future cleaning decisions.
Frequently asked questions
Can I use Goo Gone on a wood table to remove sticker residue?
Possibly, but only after you identify the table's finish and check both the product label and the table manufacturer’s care guidance. Goo Gone Original is a recognized adhesive-remover product whose manufacturer lists finished wood as compatible and advises testing in an inconspicuous area first. That is not a blanket approval for every wood table. Do not assume the same guidance applies to unfinished wood, waxed, oiled, shellacked, damaged, antique, or unknown finishes. Use a very small test on a cloth or cotton swab, follow the label’s cleanup directions, and stop if the test changes the surface’s color, sheen, texture, or feel.
What is the safest first thing to try on sticker glue on wood?
Start by lifting the paper without a cleaner. Use a fingernail or a flexible plastic card at a shallow angle and peel slowly back over itself. Once the paper layer is gone, try a soft microfiber cloth that is barely dampened with water; if the surface care directions allow it, a trace of mild dish detergent can be used for a gentle wipe. Do not spray or pour liquid directly onto the wood, and dry promptly. A small hidden-area test comes before any visible cleaning, even with a mild method, because finishes and painted surfaces vary.
Will rubbing alcohol remove sticker residue from wood?
Do not treat rubbing alcohol as a universal solution for wood. It may not be compatible with every finish, paint, veneer, or laminate surface, and its effect depends on the coating and the product used. Check the furniture or finish manufacturer’s guidance first. If that guidance does not clearly support alcohol, choose a lower-risk path: dry lifting, a permitted lightly damp cloth, or a labeled adhesive remover that specifically identifies the surface as compatible. When in doubt, do not test alcohol on a visible area; preserving the finish is more important than removing residue quickly.
How do I remove a sticker from unfinished or old wood?
Be especially conservative. Unfinished wood can absorb moisture and cleaning products, while older pieces may have wax, oil, shellac, worn coatings, or repairs that are difficult to identify. Avoid soaking, scraping, household oil remedies, and adhesive removers unless you have finish-specific advice that permits them. If the sticker edge is already loose, you may be able to lift it slowly with a dry, gentle touch, but stop if fibers pull up or the surface changes. For an antique, collectible, veneer, instrument, or important inherited piece, a qualified furniture-restoration professional is the safer resource for a stubborn label.
Why is there still a mark after the sticker residue is gone?
The remaining mark may not be adhesive. A sticker can protect one patch of finish from light, dust, cleaning, or ordinary wear, leaving a different-looking area when it is removed. Moisture or cleaner can also make a finish look temporarily different until it is fully dry. First, complete the applicable cleanup step, dry the surface, and inspect it later in normal room light. Do not keep rubbing a clean area in an attempt to erase a finish contrast. If the spot remains cloudy, dull, tacky, discolored, or otherwise changed after drying, stop and seek advice from the item or finish manufacturer or a qualified restoration professional.
Need help with the next step? Explore professional home cleaning or request a flat-fee estimate for your home.
Let Green Planet Handle the Cleaning
Family-owned since 2010. 100% eco-friendly. Greentified™ Guarantee — if you're not happy, we re-clean for free within 24 hours.
Serving Marin County, San Francisco, Sonoma, Napa, San Mateo & Contra Costa.