

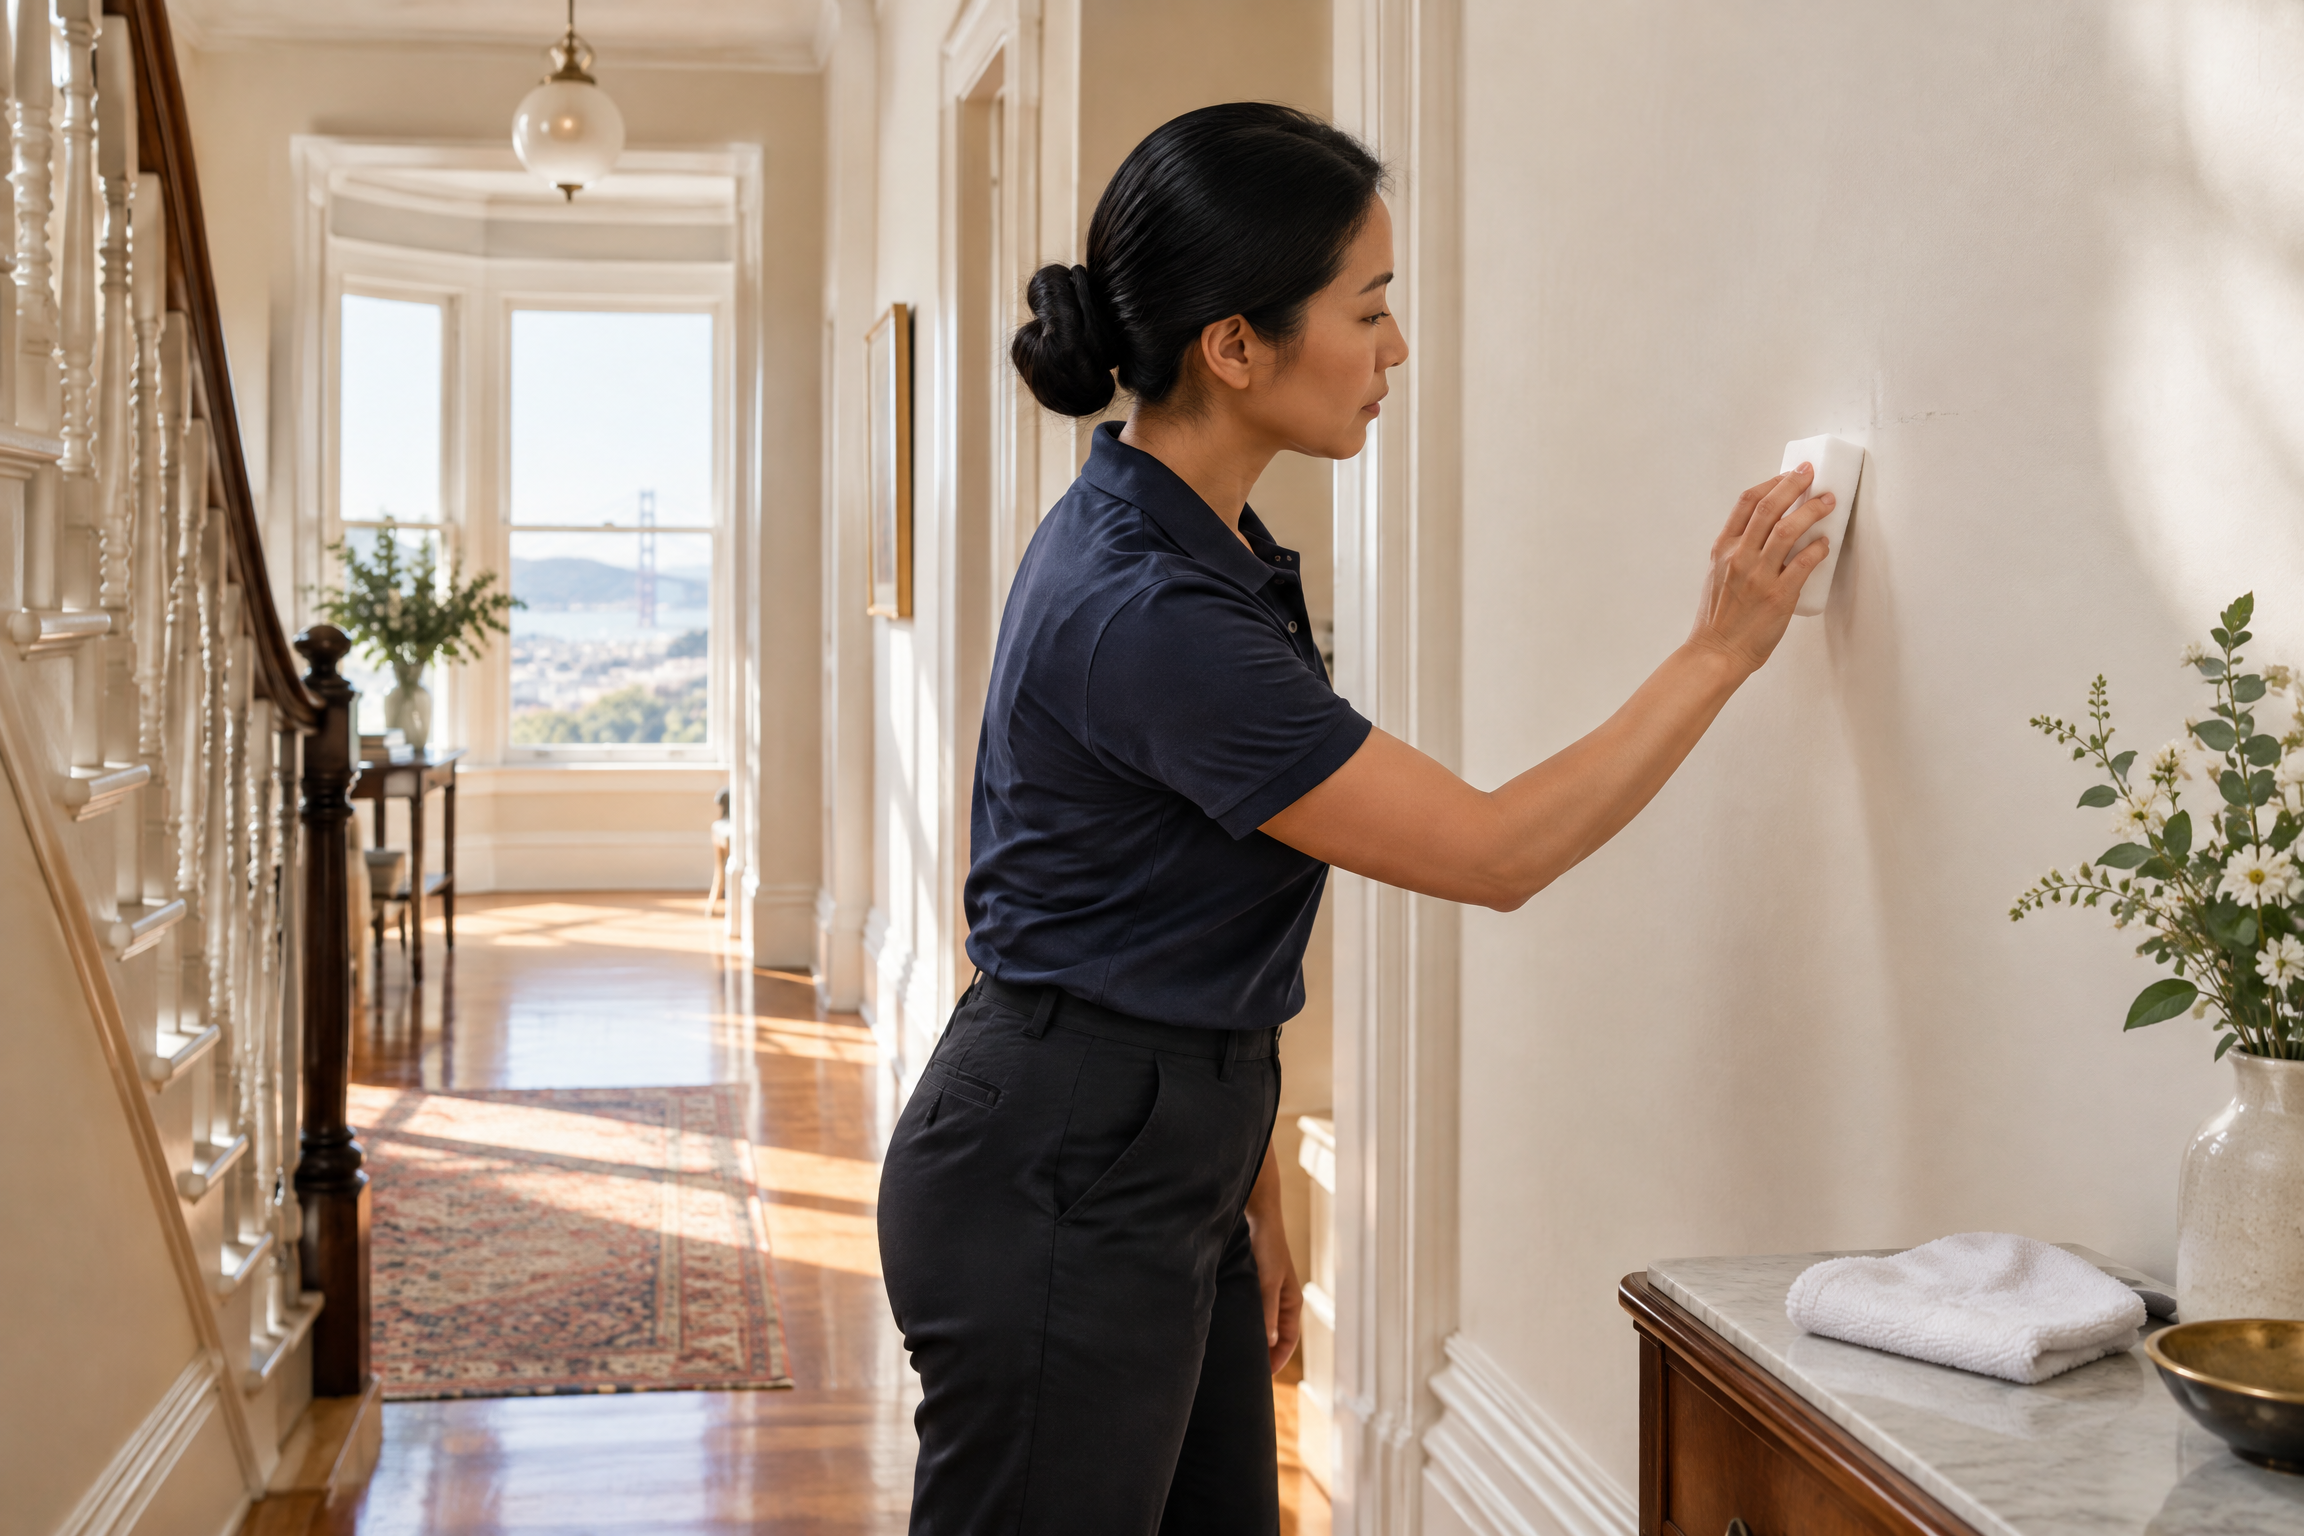
Yes—but only as a cautious, spot-cleaning option, not as the default way to wash painted walls. A Magic Eraser can be useful on a small, isolated scuff when the paint and finish are compatible, the wall has fully cured, and a hidden test area stays unchanged after drying. It is not a universal answer for every painted wall. The product maker specifically advises a light-pressure test first and lists satin, high-gloss, dark, faux, and several other finishes among surfaces where it is not recommended. If you do not know the paint finish, start with a gentler method instead.
The safest sequence is simple: identify the finish if you can, remove loose dust, try a barely damp soft cloth with water, then try a mild soap-and-water wash only if needed. Reserve the eraser for a stubborn, small mark after that lower-impact approach has failed. This guide explains how to make that decision, how to test without turning one scuff into a touch-up project, and when it is smarter to stop and preserve the paint.
Practical note: Choose the method for the actual surface, read the product and manufacturer instructions, and test a discreet area whenever a finish is uncertain.
The short answer: use a Magic Eraser selectively, not routinely
A Magic Eraser is marketed for wall scuffs, fingerprints, and pencil marks, so it can be an option on some painted walls. That does not mean every painted surface should be cleaned with one. Paint is not a single material: its sheen, color, age, formulation, application, and condition all affect how it tolerates cleaning. A tool that improves a dark shoe scuff on one durable wall can leave a visibly lighter, duller, or uneven patch on another.
The practical answer is therefore conditional. Use one only on a small spot when you have ruled out prohibited or uncertain finishes, when the paint is fully cured, and when a test confirms that gentle contact does not change the look of the wall after it dries. Use light pressure and a damp—not dripping—eraser. If the mark does not release quickly, do not add force or keep going over the same place. A clean-looking spot is not a good result if its sheen no longer matches the surrounding paint.
For broad grime, cooking residue, dust, or a wall that needs an overall refresh, a Magic Eraser is the wrong starting point. Those are wall-washing jobs, not isolated-mark jobs. A non-abrasive cloth or sponge, warm water, and, if required, a modest amount of mild dish soap give you a more controlled way to clean an area evenly. Always defer to the paint can, paint manufacturer, or wall-covering manufacturer when their care instructions differ from general advice.
- Good candidate to consider: one small, stubborn scuff on a paint finish that is known to tolerate the test spot.
- Better first choice: a dusty wall, a fresh spill, fingerprints, or a large area of ordinary soil.
- Do not treat the eraser as a shortcut for a whole-room wall wash or as a fix for chipped, peeling, bubbling, or worn paint.
- Stop at the first sign of color on the eraser, a change in sheen, a roughened area, or a mark that needs repeated passes.
Read the wall before you choose a cleaning method
Before reaching for any cleaner, look at what is actually on the wall and what the wall is finished with. A surface scuff from a bag or shoe, a pencil line, grease near a range, and a drip mark may need different approaches. Loose dust can drag across paint and make a faint mark look larger during cleaning, so remove it first with a clean, soft microfiber cloth or a vacuum dust-brush attachment used gently. Do not press a brush into the wall or use a rough towel.
Next, identify the paint finish if possible. Information from leftover paint, a contractor record, or the previous owner is more reliable than trying to judge sheen by eye. Flat and matte finishes generally need the most restraint; eggshell also warrants a gentle touch. Satin, semi-gloss, and gloss finishes are often easier to wash with a mild, non-abrasive method, yet the Magic Eraser manufacturer specifically says not to use its product on satin or high-gloss surfaces. That is why a washable finish does not automatically make an eraser appropriate.
Color and visual uniformity matter too. The product guidance cautions against use on dark surfaces, and dark or intensely colored paint can make a small sheen shift especially obvious. Textured paint, faux finishes, metallic effects, hand-painted details, murals, and repaired patches are all situations where an inconspicuous test or the finish manufacturer’s advice matters more than a generic cleaning tip. If the wall is already faded, chalky, cracking, lifting, or patched, clean as little as possible until you know what condition you are dealing with.
- Confirm whether the mark sits on the surface or whether it is a loss of paint, a dent, or a scratch in the drywall itself.
- Find the original product and sheen when you can; keep a note of the color, finish, and last paint date for future touch-ups.
- Treat unknown, dark, satin, high-gloss, faux, polished-looking, or decorative finishes as high-caution surfaces.
- If the room was recently painted, wait for the paint maker’s stated cure period before washing or spot cleaning it.
Start with the least aggressive wall-cleaning ladder
A useful wall-care rule is to begin with the method least likely to alter the finish and only move up when it is not enough. Start by dry-dusting the area and the wall immediately around it. For a light smudge, dampen a soft, clean microfiber cloth with warm water, wring it out very well, and touch the mark with light, controlled strokes. Keep the working area small so you can see whether the mark is lifting and so the rest of the wall does not become unevenly wet.
If water alone does not work, use a separate soft cloth or non-abrasive sponge with warm water and a small amount of mild dish soap. Test the solution first in a hidden spot, such as behind a door or near the baseboard, then allow the test to dry completely. Work in a manageable section with gentle motion rather than heavy scrubbing. A second cloth lightly dampened with plain water can remove remaining soap, and a dry, soft cloth can absorb excess moisture. Use as little liquid as the job allows; a soaked wall is harder to assess and can leave a visible water line.
Do not mix products, improvise strong solvents, or move from one cleaner to another without rinsing and drying the test area. Strong household sprays, glass cleaners, rough scouring pads, and unapproved cleaners can be risky for paint finishes. The product label and the paint manufacturer’s written care directions should control the decision. When a mark remains after a gentle attempt, pause before escalating. A mark that is still present but leaves the finish intact is often a better outcome than a larger, permanently different-looking spot.
- Step 1: Dust or lift dry debris gently so it does not spread during washing.
- Step 2: Try a well-wrung soft cloth with warm water; let the area dry before judging it.
- Step 3: If needed and compatible with the paint guidance, use a mild soap-and-water solution on a small test area.
- Step 4: Consider a Magic Eraser only for a remaining localized mark and only after a successful test.
Painted-wall spot-cleaning decision plan
Use this planning table before you touch a visible mark. It is designed to help you choose a starting method based on the wall’s condition rather than automatically reaching for the strongest option.
| What you see | Best first move | When a Magic Eraser may be considered | When to stop or choose another path |
|---|---|---|---|
| Light dust or a faint fingerprint | Dust gently, then use a well-wrung soft cloth with warm water if needed. | Usually unnecessary; assess after the wall dries. | Stop if a water mark or sheen difference appears; follow paint-specific care guidance. |
| One small shoe or bag scuff on a known compatible finish | Try water first, then a mild soap-and-water test if the paint guidance permits it. | Only after a hidden light-pressure test dries without a change in color or sheen. | Stop after a few gentle passes or at the first sign of paint transfer, dullness, or shine. |
| Unknown paint, dark wall, satin or high-gloss finish | Check the paint or surface manufacturer’s instructions; use the gentlest approved approach. | Do not use it when the finish is among the product maker’s not-recommended surfaces. | Preserve the finish; consider a touch-up plan if the mark cannot be safely removed. |
| Flat or matte feature wall | Dust and test a very gentle water method in a hidden area. | Only with exceptional caution after a successful test; a milder method is preferred. | Stop if the cleaned spot becomes shiny, lighter, rough, or visibly different. |
| Peeling paint, moisture mark, repeated stain, or broad discoloration | Pause cleaning and identify the underlying condition before treating the surface. | Not appropriate as a first response. | Avoid repeated washing; seek paint, property, or repair guidance appropriate to the issue. |
How to test and use a Magic Eraser with the lowest practical risk
If the wall has passed the decision points above, choose an inconspicuous test location on the same painted surface—not a different room, trim piece, or a patch with a different finish. Dampen a fresh Magic Eraser with water and squeeze out the excess. The goal is a lightly damp tool, not water running down the wall. Do not add bleach, an all-purpose cleaner, or another household cleaner to the eraser; the manufacturer says not to use it with chlorine bleach or other household cleaners.
With almost no pressure, make one or two short, controlled passes over the test mark or an equally hidden area. Do not use a circular, aggressive scrub. Let the spot air-dry fully, then view it from more than one angle and in the room’s usual light. Check for color transfer, a dull or shiny halo, texture change, or an edge where the cleaned spot no longer blends. A test is successful only when both the mark and the finish look acceptable after drying—not merely while the surface is damp.
For the visible scuff, repeat the same limited technique on only the mark. Keep the eraser away from adjacent trim, wallpaper, unfinished wood, metal fixtures, and other materials with different care rules. One or two gentle passes may be enough; do not try to make the entire surrounding wall look equally clean with the eraser. If the mark persists, stop rather than pressing harder. Make a note of what you tried so that a future paint touch-up or professional assessment starts with clear information.
- Wet the eraser with water, then squeeze it well so it is damp rather than dripping.
- Test light pressure on an inconspicuous part of the exact wall and wait for it to dry fully.
- Use short, limited strokes on the mark; avoid working a broad area to chase uniformity.
- Never combine the eraser with chlorine bleach or another household cleaner, and keep it away from skin and eyes.
Know the finishes and situations where the safer answer is no
Some walls should stay out of the Magic Eraser experiment entirely. The product maker lists high-gloss, satin, dark, faux, polished, brushed, and other sensitive-looking surfaces among those not recommended for use. On a painted wall, that translates into a simple precaution: if you know the finish falls into a listed category, do not use it. Choose the paint maker’s care method, water or mild soap where permitted, or an appropriate touch-up plan instead.
Flat and matte walls deserve a different kind of caution. They are not necessarily on the product’s explicit no-use list, but lower-sheen paint is generally more vulnerable to visible burnishing or other appearance changes from cleaning. That makes a water-first test and an exceptionally light touch important. If a matte wall shows a clean, shiny, or lighter spot after even gentle cleaning, stop. Trying to blend the spot by cleaning the surrounding wall often enlarges the visual difference.
Skip abrasive spot-cleaning when paint is newly applied, already failing, or intentionally decorative. Peeling edges, bubbling, recurring stains, moisture marks, mold-like growth, smoke damage, or a stain that keeps returning are not routine scuff-cleaning problems. Identify and address the underlying issue before repeatedly washing the same area. For a rental, keep the property owner or manager informed before testing an unfamiliar finish or attempting a repair. Their instructions and the lease may govern the next step.
- Avoid Magic Eraser use on satin, high-gloss, dark, faux, polished, or brushed-looking surfaces listed in the product guidance.
- Avoid any aggressive cleaning on paint that is fresh, cracked, flaking, blistered, or already uneven in sheen or color.
- Do not use it to clean wallpaper, bare or polished wood, or a surface whose manufacturer gives different care directions.
- For recurring stains or signs of a moisture-related problem, address the cause rather than repeatedly spot cleaning.
What to do when the mark will not come off—or the finish changes
A stubborn mark can be frustrating, but escalation should be deliberate. First, stop cleaning and let the area dry completely. Wet paint can look temporarily darker or more even, hiding a changed sheen until the moisture is gone. Inspect from the side as well as straight on, and compare it with an untouched area at the same height. If the finish looks unchanged but the mark remains, decide whether the small mark is less noticeable than the risk of more cleaning. Often, it is.
If you see paint color on the cloth or eraser, a pale spot, a shiny patch on a low-sheen wall, or a dull patch on a glossier wall, discontinue cleaning immediately. Do not layer on more cleaner to correct it. Once dry, the appropriate next step may be a careful touch-up using the original paint color and sheen, applied by the same method used originally when possible. Touch-ups can also flash or show at certain angles, so test on a small hidden area or seek paint-specific guidance before repairing a prominent wall.
For pencil, crayon, grease, ink, or other named stains, avoid assuming that the same remedy works on every paint system. Check the paint manufacturer’s current care instructions and the cleaning product label, then test discreetly. When the history of the paint is unknown, a small, contained mark becomes the boundary for experimentation. Broad discoloration, a damaged finish, or an important feature wall may be better treated as a paint-maintenance decision rather than a cleaning challenge.
- Stop and dry the area before deciding whether the cleaning result is acceptable.
- Do not keep scrubbing to match a newly cleaned spot to an uncleaned wall.
- Document the paint brand, color, sheen, and any product used before considering a touch-up.
- Use manufacturer guidance for the exact stain and coating whenever it is available.
Build a wall-care routine that prevents last-minute scrubbing
The easiest way to use less force on painted walls is to remove ordinary dust before it mixes with moisture, oils, or traffic marks. Include gentle dusting of walls, corners, baseboards, and high-touch areas in your regular home routine. Address a fresh mark with the mildest suitable method rather than waiting for several layers of soil to accumulate. Keep one set of clean, soft cloths for walls so that grit or residue from kitchen and bathroom cleaning does not get transferred onto paint.
For homes with multiple finishes, create a short wall-care note: room, color, sheen, paint brand if known, date painted, and any cleaning instructions. This is useful before a seasonal clean, a move, a repair, or a future touch-up. It also prevents a well-meaning helper from using the same method on a washable hallway finish and a delicate matte feature wall. Store leftover paint in accordance with its label so the color and sheen are available if a cleaning attempt reveals that touch-up is the better solution.
If you would rather have the rest of the home cared for while you handle paint-specific decisions, consider professional home cleaning for your local service planning. Before booking, make a note of any painted walls, specialty finishes, or areas you prefer not to have spot cleaned, and use the estimator for an exact quote. Clear instructions help keep wall care aligned with the finish and your priorities rather than treating every mark as a routine scrub.
- Dust gently and address fresh marks early with the mildest compatible method.
- Keep clean microfiber cloths reserved for painted surfaces.
- Record paint details and preserve leftover matching paint for a future touch-up if needed.
- Communicate any no-clean or test-first wall areas when planning household cleaning.
Frequently asked questions
Can you use a Magic Eraser on flat or matte painted walls?
Treat flat and matte walls as high-caution surfaces. Lower-sheen paints generally need a gentler touch because cleaning can create a visible difference in sheen or color. Begin with dry dusting and a well-wrung soft cloth with water, then check the paint manufacturer’s instructions. If you still consider a Magic Eraser, test it with extremely light pressure in a hidden area and allow the wall to dry fully before deciding. Stop immediately if the spot looks shiny, pale, rough, or otherwise different. A small remaining scuff may be preferable to a larger finish change.
Why did a Magic Eraser make my wall look shiny or lighter?
The cleaning action may have changed the surface appearance or removed enough soil and finish variation to make the spot stand out. Dampness can temporarily mask that difference, so allow the area to dry completely before judging it. Do not scrub the surrounding wall in an effort to blend the patch; that can enlarge the altered area. Set the cleaning aside, compare the dry spot in normal room light, and keep the original paint information handy. If repair is needed, a careful touch-up using the matching color and sheen may be more appropriate than more cleaning.
How do I remove scuff marks from painted walls without removing paint?
Start with the least aggressive method: gently remove dust, then touch the scuff with a soft cloth dampened with warm water. If that does not work and the paint manufacturer permits it, test a mild dish-soap-and-water solution in an inconspicuous area. Work lightly, use minimal moisture, and let the paint dry before assessing the result. For one stubborn, localized scuff on a compatible finish, a damp Magic Eraser can be considered only after a successful hidden test. Avoid strong sprays, rough scrubbers, and repeated pressure, which increase the chance of a visible finish change.
Can I use a Magic Eraser on satin or glossy painted walls?
No—not if you are following the Magic Eraser manufacturer’s surface guidance. The manufacturer lists satin and high-gloss surfaces among those where the product is not recommended. Even though some glossier paints can be easier to wash with a non-abrasive method, that does not override the product-specific limitation. Use the paint manufacturer’s care instructions instead, beginning with a soft cloth and mild soap-and-water method where approved. Test any cleaning solution in a hidden place and avoid strong chemicals or abrasive tools.
How long should I wait before cleaning newly painted walls?
Follow the cure-time instructions for the exact paint, because formulations and conditions vary. Major paint manufacturers commonly advise waiting until the finish has cured before routine washing; some publish guidance of about two weeks for soap-and-water cleaning. Until you have confirmed the product instructions, avoid spot-scrubbing a freshly painted wall. If something lands on the wall sooner, use the mildest response allowed by the paint maker and avoid rubbing hard. A cured finish still deserves a hidden test before a Magic Eraser or any unfamiliar cleaner is used.
Need help with the next step? Explore professional home cleaning or request a flat-fee estimate for your home.
Let Green Planet Handle the Cleaning
Family-owned since 2010. 100% eco-friendly. Greentified™ Guarantee — if you're not happy, we re-clean for free within 24 hours.
Serving Marin County, San Francisco, Sonoma, Napa, San Mateo & Contra Costa.