

Few household maintenance challenges test patience quite like soap scum. What begins as an invisible, slippery film on shower glass and tile rapidly transforms into a stubborn, opaque white crust that resists ordinary wiping, multi-purpose sprays, and frantic scrubbing.
Understanding how soap scum forms at a molecular level is the key to eradicating it permanently without damaging your bathroom fixtures. Rather than relying on brute force or harsh, corrosive chemicals that endanger indoor air quality and etch delicate surfaces, professional cleaning technicians rely on precise chemical dwell times, targeted organic acids, and material-specific protocols.
In this comprehensive guide, we examine the chemical reality of soap scum, explore safe removal techniques tailored to every surface in your bathroom, detail preventive daily habits, and provide an interactive material selector to help you clean safely and effectively.
The Chemistry of Soap Scum: Why Standard Cleaning Fails
To defeat soap scum, one must first understand what it actually is. Contrary to popular belief, soap scum is not merely dried soap or ordinary dirt. It is an insoluble metallic soap precipitate formed through a direct chemical reaction between traditional soaps and dissolved minerals in municipal water supplies.
Traditional bar soaps are manufactured by saponifying animal fats or plant oils with sodium or potassium hydroxide, yielding soluble salts of fatty acids (sodium tallowate or sodium cocoate). When these soluble soap molecules meet hard water—which contains high concentrations of dissolved calcium (Ca²⁺) and magnesium (Mg²⁺) ions—a precipitation reaction occurs instantly:
2 R-COO⁻Na⁺ (Soap) + Ca²⁺ (Hard Water) → (R-COO)₂Ca (Calcium Stearate / Soap Scum) + 2 Na⁺
The resulting compound—calcium stearate—is entirely water-insoluble. As hot water cascades over your body during a shower, this gummy precipitate mixes with shed human skin cells (corneocytes), sebum, body oils, and synthetic surfactants from shampoos and conditioners. This slurry settles into microscopic pores, scratches, and grout imperfections on shower doors, tiles, and tubs.
As the shower environment heats up and subsequently dries, the mixture dehydrates into a crystalline, rock-hard crust. This explains why splashing water or spraying standard dish soap over the buildup accomplishes little: dish soap is designed to emulsify loose culinary fats in water, but it cannot reverse the ionic bonding of metallic soaps or dissolve embedded mineral crystals without active chemical chelators or mild acids.
Interactive Surface Material Selector & Safe Method Guide
Different bathroom surfaces require entirely different cleaning chemistries. Select your specific surface material below to instantly view its primary soap scum cause, safe eco-friendly cleaning agents, prohibited chemicals, step-by-step removal protocol, and professional pro tips.
Glass Shower Doors Cleaning Protocol
Soap surfactants bond with calcium and magnesium from hard water, creating an opaque, cloudy film that bakes into microscopic pores under shower heat.
Warm white vinegar (5% acidity), food-grade citric acid solution (2 tablespoons per cup of warm water), or eco-friendly soap scum dissolver (such as Seventh Generation or BioKleen).
Chlorine bleach (ineffective against mineral-soap bonds), steel wool, abrasive scouring powders, or harsh alkaline degreasers that can etch framing.
- Mix equal parts warm white vinegar and liquid dish soap in a spray bottle, or dissolve 3 tablespoons of citric acid in 16 oz of warm water.
- Spray the glass doors thoroughly from top to bottom, ensuring complete coverage of cloudy buildup.
- Allow the solution to dwell for 15 to 20 minutes. Do not let it dry completely; re-spray if necessary.
- Agitate the softened scum using a non-scratch nylon scrubbing pad or a dedicated microfiber mesh sponge, working in overlapping circular motions.
- Rinse thoroughly with warm water using a handheld shower nozzle or a clean damp sponge.
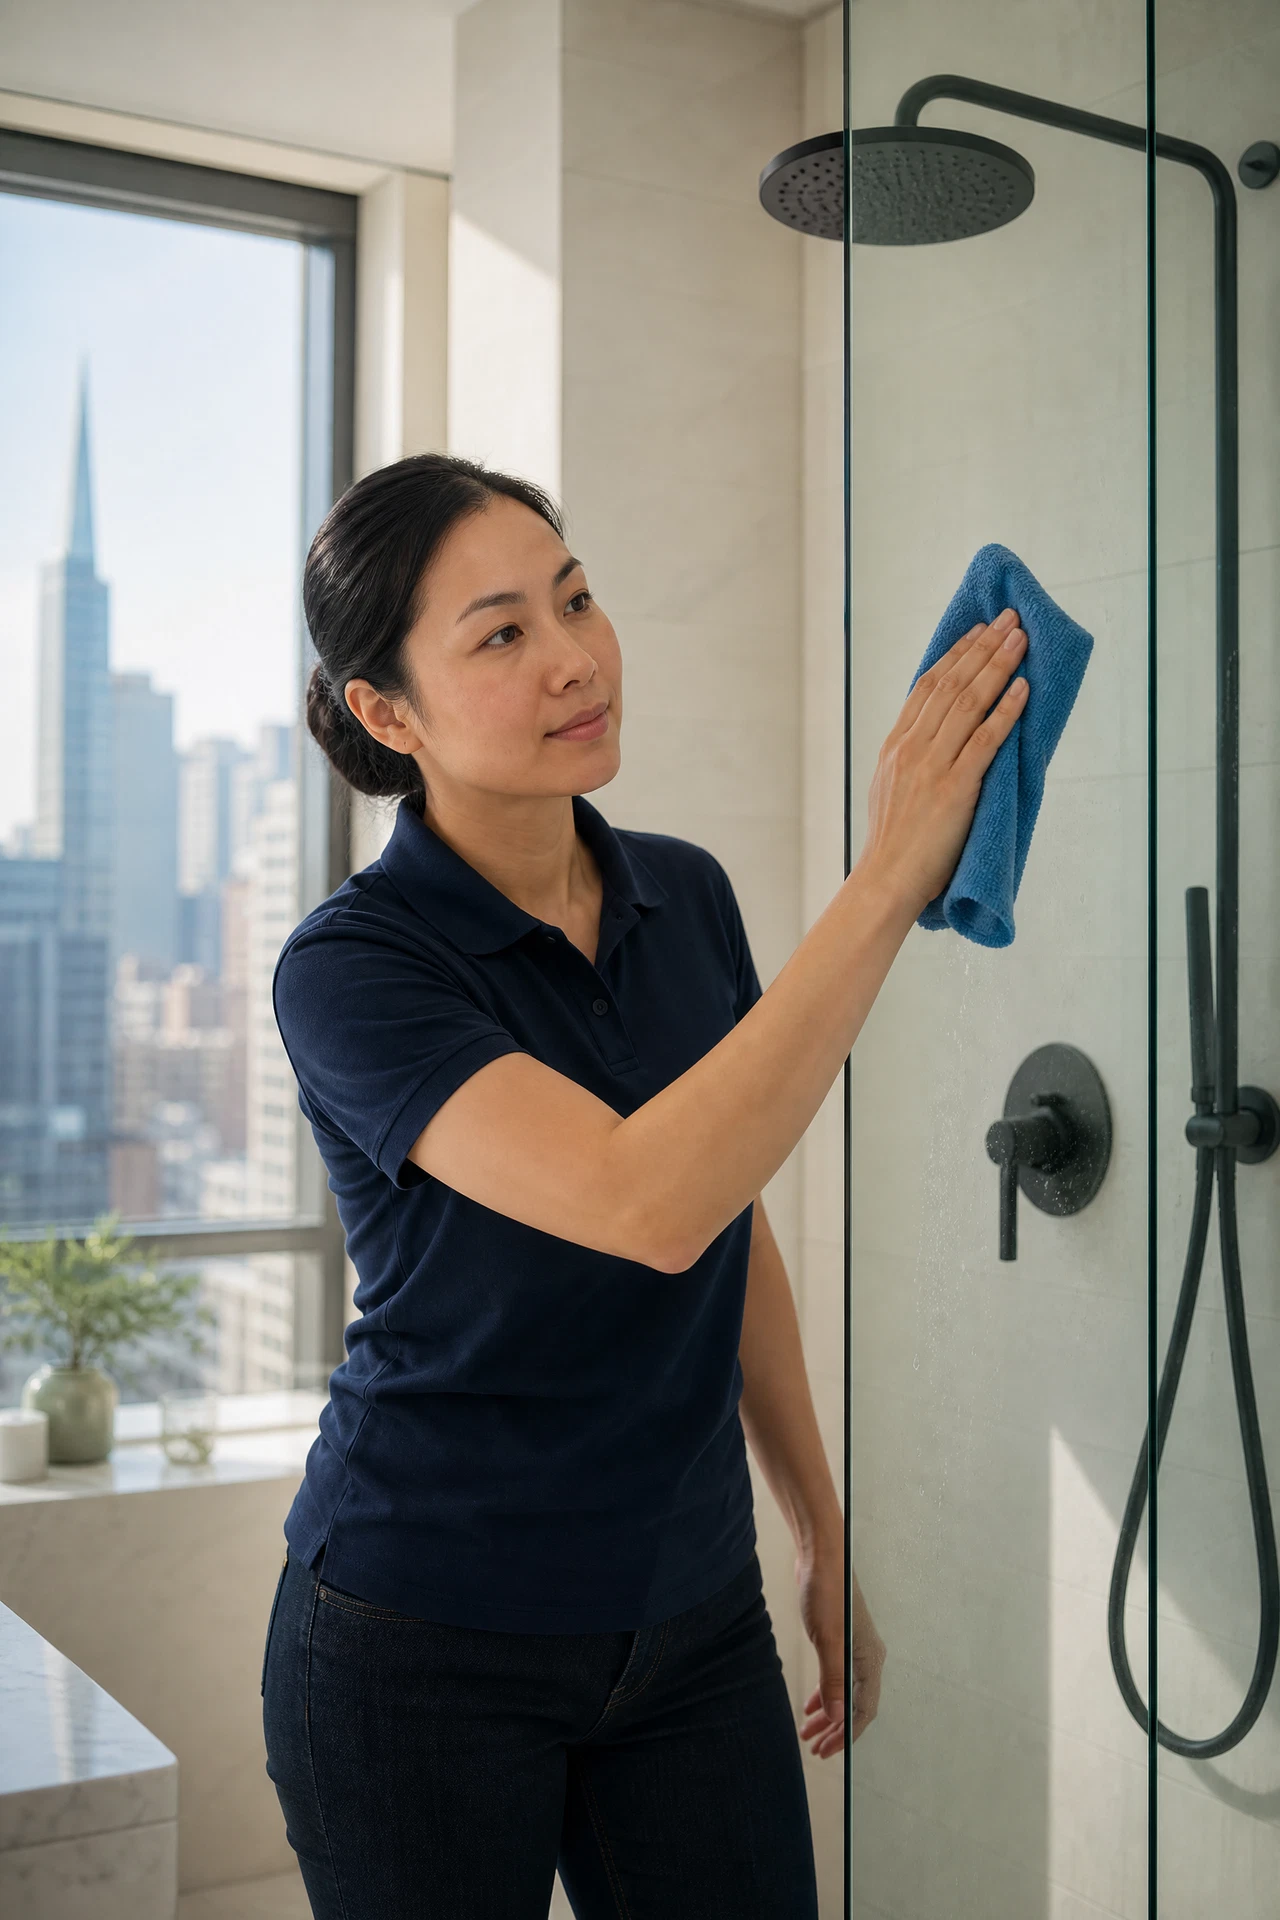
- Immediately dry and polish the glass using a clean microfiber glass cloth or a professional silicone squeegee to prevent new water spots.
💡 Professional Pro Tip: After every shower, take 30 seconds to squeegee the glass doors. This single habit eliminates 90% of future soap scum accumulation.
The Professional 5-Phase Soap Scum Eradication Master Guide
When tackling heavy, calcified soap scum that has accumulated over months or years, sporadic wiping is insufficient. Professional cleaning technicians follow a rigorous five-phase methodology to ensure complete removal without damaging underlying surfaces.
Phase 1: Preparation & Thermal Loosening
Before applying any chemical agents, turn on your shower's hot water setting and let it run for 3 to 5 minutes with the bathroom door and window closed. The resulting steam and thermal expansion soften hardened fatty deposits, opening microscopic pores in the surface and preparing the soap scum layer to absorb cleaning solutions more effectively.
Phase 2: Targeted Acid Dwell Time
Apply your chosen eco-friendly acid (such as warm white vinegar or a citric acid solution) via a fine mist spray bottle. The cardinal rule of professional cleaning is letting the chemistry work: allow the solution to dwell undisturbed for 15 to 20 minutes. As the acid lowers the pH, it protonates the carboxylate groups in the calcium stearate, releasing the mineral ions and breaking the molecular bond.
Phase 3: Mechanical Agitation & Scrubbing
Once the chemical dwell time has softened the crust, use appropriate mechanical tools. For glass and acrylic, deploy non-scratch microfiber mesh pads or soft nylon sponges. For ceramic tile faces and textured surfaces, use medium-bristled nylon brushes. Work in systematic overlapping circles rather than erratic scrubbing to ensure uniform removal.
Phase 4: Neutralization & Rinsing
Acid residues left on surfaces can attract dust or interact with subsequent cleaners. Rinse all treated areas thoroughly with clean, warm water from top to bottom. If using strong citric acid or vinegar on sensitive metal fixtures, rinse promptly and neutralize with a mild water wipe.
Phase 5: Immediate Drying & Hydrophobic Sealing
Never let a freshly cleaned shower air-dry naturally, as dissolved minerals in tap water will immediately form new water spots. Use a professional silicone squeegee followed by a dry microfiber polishing cloth. For glass and polished tile, apply a hydrophobic protective sealant to repel future water and soap droplets.
Safe Eco-Friendly Cleaning Agents vs. Prohibited Corrosives
Homeowners frequently make the mistake of reaching for the most aggressive chemical cleaner under the sink, believing that stronger fumes equal better cleaning power. In reality, improper chemical selection can permanently ruin expensive bathroom installations while creating hazardous indoor air pollution.
| Surface Material | Recommended Safe Cleaner | Prohibited Chemical Agent |
|---|---|---|
| Glass Shower Enclosures | Warm white vinegar & dish soap | Abrasive scouring powders |
| Acrylic Bathtubs | Baking soda & liquid castile soap | Acetone, paint thinners, scrub pads |
| Glazed Ceramic Tile | Diluted acetic acid or eco spray | Concentrated muriatic acid |
| Natural Marble & Travertine | pH-neutral stone cleaner | Vinegar, lemon juice, bleach |
| Chrome & Stainless Fixtures | Warm vinegar soak & microfiber | Steel wool or wire brushes |
| Cementitious Grout | Oxygen bleach (sodium percarbonate) | Raw hydrochloric acid |
| Silicone Caulk Lines | Hydrogen peroxide eco gel | Chlorine bleach left overnight |
| Porcelain Basins | Mild eco scouring powder | Metal scraper blades |
By adhering strictly to surface-compatible, eco-friendly cleaning formulations, you protect your home finishes from irreversible pitting, scratching, and chemical burns while maintaining a healthy indoor living environment.
The 7 Most Common Soap Scum Removal Mistakes
Even well-intentioned cleaning routines often falter due to common misconceptions. Avoiding these seven frequent errors will save you time, effort, and costly repair bills.
1. Skipping Chemical Dwell Time
Spraying cleaner and wiping immediately forces you to rely entirely on muscle strength rather than chemistry. Acidic and chelating cleaners require 10 to 20 minutes of undisturbed contact time to break ionic mineral bonds.
2. Using Hot Water Initially on Protein Scum
While thermal loosening helps with pure mineral buildup, applying boiling water to fresh soap scum containing body proteins and skin cells can coagulate those proteins, baking them deeper into surface pores.
3. Scrubbing Acrylic and Fiberglass with Abrasive Pads
Green Scotch-Brite pads and steel wool create microscopic scratches in softer acrylic resins. These micro-grooves subsequently trap soap scum and mold spores even more tenaciously than before.
4. Ignoring Shower Door Frames and Sliding Tracks
Homeowners often pristine the glass while ignoring aluminum tracks and framing. Trapped water in bottom tracks breeds mold and calcifies into severe crusts that jam sliding doors.
5. Failing to Rinse Cleaners Completely
Leaving residual soap cleaner or dissolved mineral slurry on shower walls creates a sticky film that attracts fresh soap scum within days of cleaning.
6. Applying Chlorine Bleach to Hard Water & Soap Scum
Chlorine bleach is an oxidizing disinfectant, not an acid or chelator. It whitens mold temporarily but does absolutely nothing to dissolve calcium stearate or mineral crusts.
7. Neglecting Daily Preventive Maintenance
Treating soap scum as an exclusively monthly deep-cleaning event guarantees endless frustration. A 30-second daily squeegee routine eliminates the need for aggressive scrubbing.
Frequently Asked Questions About Soap Scum Removal
Here are expert answers to the most common questions homeowners ask regarding soap scum chemistry, removal safety, and maintenance.
What is the exact chemical composition of soap scum?
Soap scum is an insoluble precipitate formed when traditional fatty acid-based soaps (sodium or potassium salts of fatty acids) react with dissolved calcium (Ca²⁺) and magnesium (Mg²⁺) ions present in hard water. This chemical reaction creates metallic soaps (such as calcium stearate), which subsequently trap body oils, dead skin cells, shampoo surfactants, and dirt into a tenacious, water-insoluble film.
Why does plain dish soap and water fail to remove stubborn soap scum?
Dish soap is formulated to cut grease and food fats, but it lacks the chemical acidity or chelating strength required to break down ionic mineral-fat bonds like calcium stearate. Furthermore, adding more water to soap scum without lowering the pH or chelating the mineral ions simply dilutes the surface without dissolving the hardened crystalline matrix.
Is white vinegar safe to use on all bathroom surfaces?
No. While white vinegar is an excellent, eco-friendly acid for dissolving mineral deposits and soap scum on glass, glazed ceramic, chrome, and porcelain, it is strictly unsafe for natural stone surfaces such as marble, travertine, limestone, and concrete. Vinegar's acetic acid etches calcium carbonate in natural stone, permanently dulling and pitting the polished finish.
How can I prevent soap scum from forming in the first place?
The most effective preventive measure is eliminating the moisture and standing soap residue immediately after use. Keep a professional silicone squeegee inside the shower and make it a habit to squeegee glass doors and tile walls in 30 seconds after every shower. Additionally, switching from traditional tallow-based bar soaps to liquid body washes or syndet (synthetic detergent) bars drastically reduces soap scum formation because syndet bars do not react with hard water minerals to form insoluble precipitates.
What is the difference between hard water stains and soap scum?
Hard water stains consist purely of mineral deposits (calcium carbonate, magnesium, silica, and iron) left behind when hard water evaporates. Soap scum is a hybrid composite containing both those mineral deposits and organic fats, body oils, and skin proteins. While both respond well to acidic cleaners, soap scum requires surfactants or mechanical agitation to break through the fatty organic layer before the underlying minerals can be dissolved.
How often should I perform a deep clean to eradicate soap scum?
In households with moderately hard water, a thorough weekly maintenance clean prevents soap scum from accumulating into hardened layers. If you squeegee daily and use eco-friendly daily shower sprays, a comprehensive deep clean involving grout scrubbing and fixture descaling is recommended every 4 to 6 weeks. Homes with extremely hard water (above 120 ppm) may require bi-weekly detailed cleaning.
Are commercial soap scum removers harmful to indoor air quality?
Many conventional commercial bathroom cleaners contain volatile organic compounds (VOCs), synthetic fragrances, ammonia, and quaternary ammonium compounds that can irritate respiratory pathways, trigger asthma symptoms, and pollute indoor air. Eco-friendly cleaning practices utilizing plant-based surfactants, organic acids (citric and acetic acid), and proper ventilation achieve exceptional results without compromising indoor air quality.
When should I hire professional cleaners for bathroom restoration?
You should consider professional cleaning services when soap scum and hard water buildup have calcified into rock-hard layers over years of neglect, when delicate natural stone requires specialized pH-neutral mechanical polishing, or when extensive mold has penetrated silicone caulk and grout lines. Professional teams bring commercial-grade eco-safe formulations, specialized rotary cleaning tools, and years of expertise to restore bathrooms to pristine condition efficiently.
Mastering Your Bathroom Maintenance Routine
Soap scum may be an inevitable byproduct of hard water and traditional soaps, but it does not have to be a permanent fixture in your home. By combining the chemical insights of acid dwell times, respecting the unique sensitivities of natural stone and acrylic, committing to a 30-second daily squeegee habit, and utilizing eco-friendly cleaning formulations, you can maintain a brilliantly pristine, crystal-clear bathroom year-round.
Want a Professional-Level Clean Without the Effort?
Green Planet Cleaning's professional teams utilize eco-friendly, advanced cleaning methodologies to eradicate soap scum, hard water stains, and embedded buildup. Book a comprehensive one-time deep clean or set up convenient recurring maintenance today.
Book Online