

The kitchen microwave is arguably the most frequently used appliance in modern residential life, yet it is routinely one of the most neglected. From exploding bowls of marinara sauce and overflowing oatmeal to melted cheese splatters and stubborn, lingering odors from last night's dinner, the interior cavity of a microwave quickly transforms into a magnet for baked-on grease and organic residue.
While many homeowners resort to aggressive scrubbing with harsh chemical oven cleaners or abrasive steel wool pads, professional cleaning technicians rely on a much simpler, highly effective principle: controlled steam and natural organic acids. By utilizing the moisture and thermal energy already generated within the appliance, you can effortlessly lift hardened food debris without risking damage to the delicate interior enamel, glass components, or electrical waveguide cover.
This comprehensive, professional guide details the exact science of microwave cleaning, provides step-by-step protocols tailored to specific types of food spills, highlights critical safety cautions, and outlines the essential maintenance schedule required to keep your microwave hygienically clean and operating at peak performance for years to come.
Interactive Spill Type Cleaning Protocol
Different food spills require different cleaning approaches. Select your specific microwave mess below to generate an instant, customized professional removal protocol, complete with recommended steam mixtures, required tools, and safety cautions.
Exploded Tomato Sauce & Marinara
White vinegar & water solution (1 cup water + 2 tablespoons white vinegar) heated on high for 5 minutes.
- Remove glass turntable and roller ring, placing them in warm soapy water.
- Place the vinegar and water bowl inside the microwave and heat on high for 5 minutes to create dense boiling steam.
- Let the microwave sit closed for 10 minutes without opening the door so the acidic steam penetrates and softens dried tomato splatter.
- Carefully remove the hot bowl using oven mitts. Wipe down interior walls top-to-bottom with a damp microfiber cloth.
- For stubborn orange discoloration, apply a mild baking soda paste, let sit for 5 minutes, and gently buff with a soft nylon pad.
Avoid using chlorine bleach on dried tomato sauce; it can react with organic residues and create discoloration on painted cavity walls.
The Science of Steam Cleaning: Why It Works
When food splatters onto the interior walls and ceiling of a microwave oven, the intense thermal exposure during subsequent cooking cycles bakes the organic matter into a hard, carbonized crust. Traditional wiping with a dry or damp rag is entirely ineffective against this hardened bond because the proteins, starches, and fats have dehydrated and bonded molecularly to the interior enamel or stainless steel surfaces.
Professional cleaning technicians utilize moisture vapor phase dynamics—commonly referred to as steam cleaning. By boiling water mixed with mild organic acids (such as acetic acid in white vinegar or citric acid in fresh lemons) inside the closed cavity, the microwave generates pressurized micro-droplets of steam. This steam accomplishes three critical tasks simultaneously:
Thermal Rehydration
Hot water vapor rapidly penetrates dried-on food particles, swelling the cellular structure of starches and proteins and breaking the adhesive bond holding them to the appliance wall.
Acidic Dissolution
The mild acidity of vinegar or citrus juice breaks down alkaline grease deposits and mineral scales, neutralizing greasy films without requiring harsh chemical solvents.
Bacterial Sanitization
The sustained high ambient temperature and steam saturation eliminate common kitchen pathogens, mold spores, and residual food odors residing in microscopic surface crevices.
Step-by-Step Professional Microwave Cleaning Guide
To achieve a flawless, professional-grade clean throughout your kitchen, follow this structured, sequential procedure. Working systematically from interior components to exterior touchpoints ensures no area is overlooked and prevents cross-contamination.
Unplug and Prepare
For safety, unplug the microwave or switch off the dedicated circuit breaker if it is a built-in over-the-range model. Remove all loose items including the glass turntable plate and plastic roller support ring.
Clean Turntable and Roller Ring
Wash the glass plate and roller ring in the kitchen sink using warm water and dish soap. Inspect the glass for thermal micro-cracks and dry thoroughly with a microfiber towel before reinstallation.
Execute the Steam Treatment
Place a microwave-safe glass bowl filled with 1 cup of water and 2 tablespoons of white vinegar (or lemon slices) inside the center of the cavity. Heat on high for 5 minutes until rolling boiling steam fills the interior.
The Dwell Phase (Crucial Step)
Do not open the microwave door immediately after heating. Allow the appliance to remain closed for 10 full minutes. This dwell time allows the condensing steam to fully soften stubborn, baked-on grease and food crusts.
Wipe Interior Cavity Top-to-Bottom
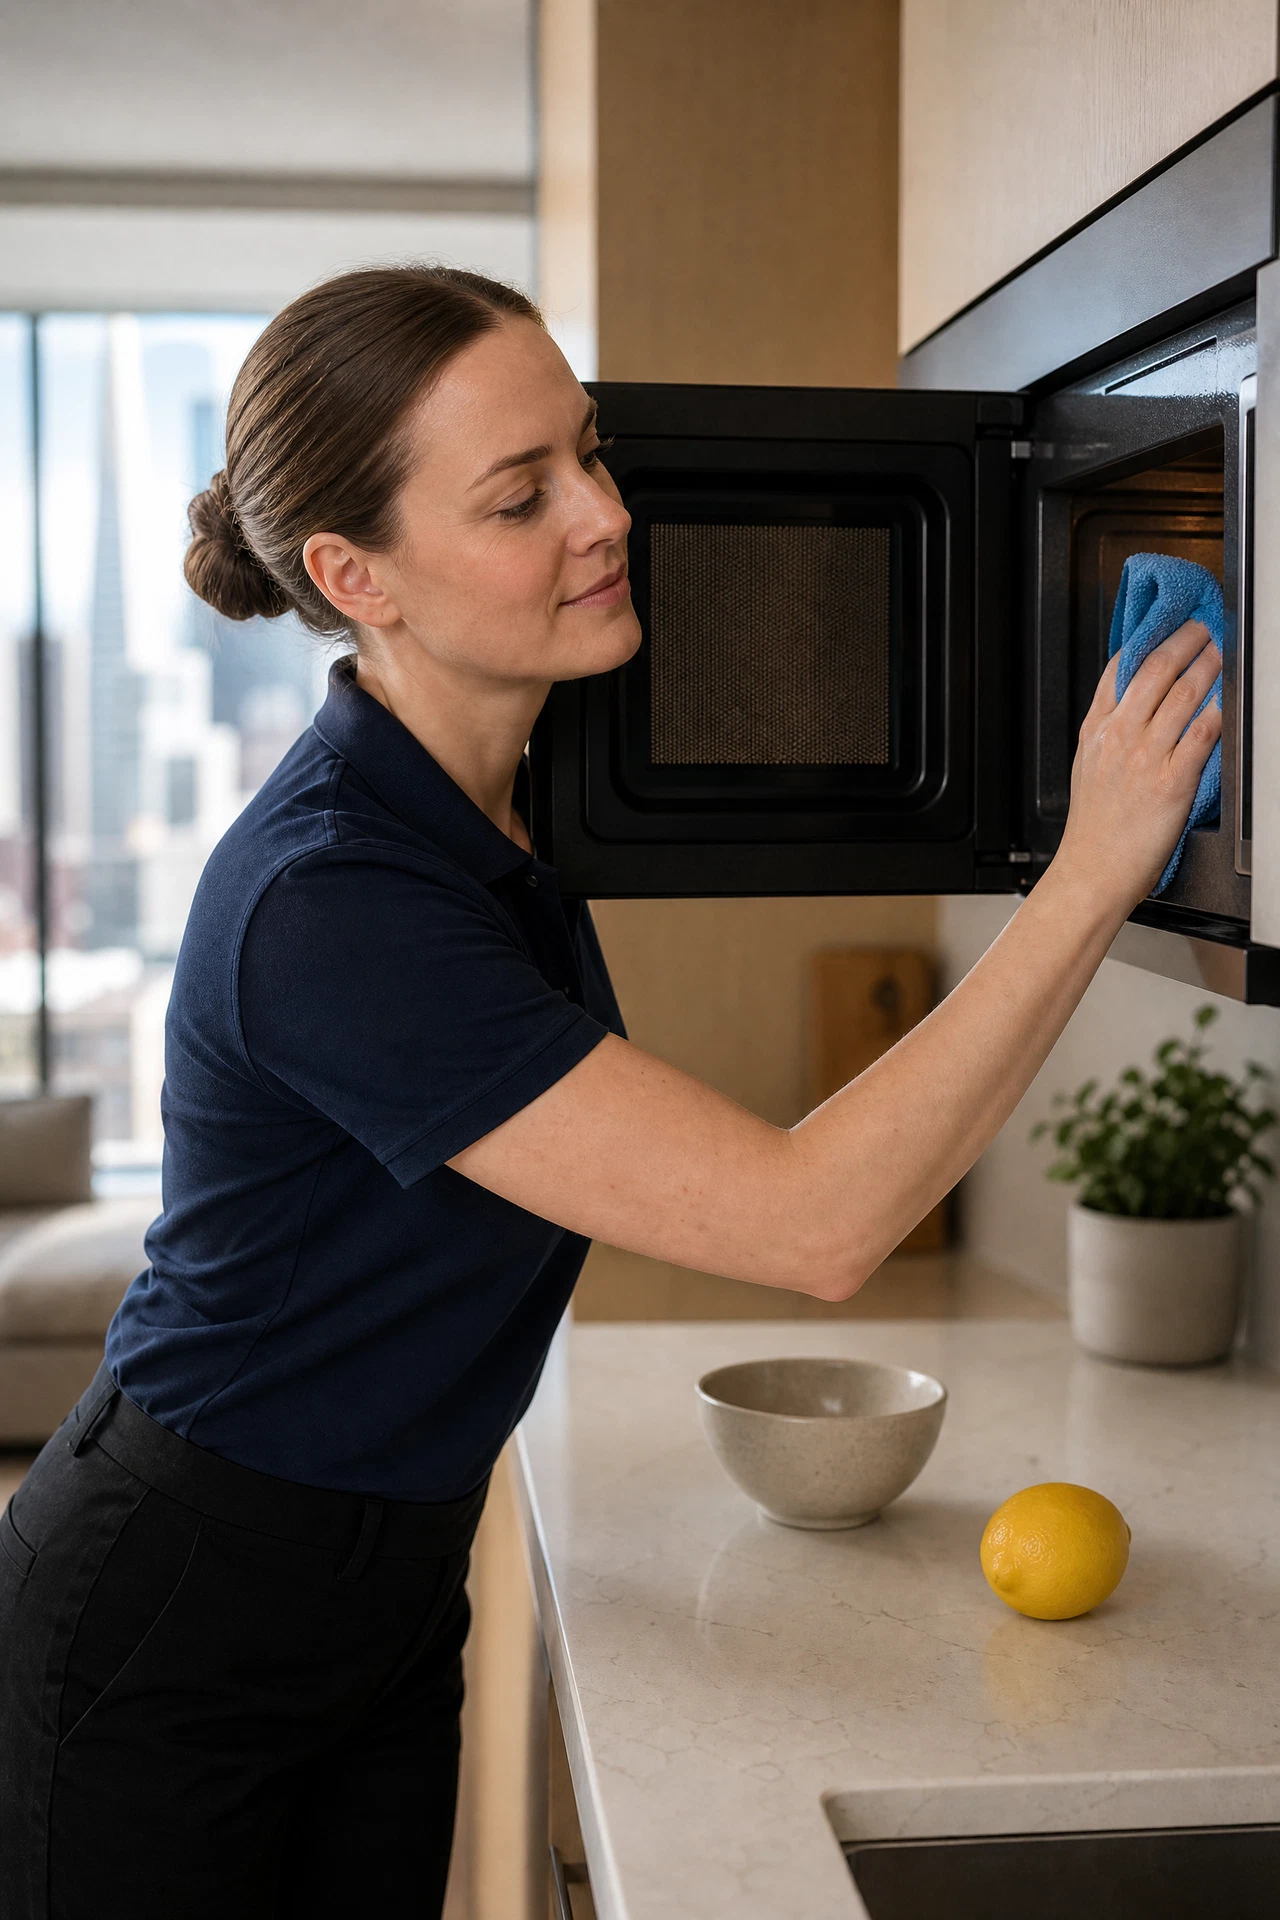
Carefully remove the hot bowl using oven mitts. Using a damp microfiber cloth, wipe the ceiling, back wall, side walls, and floor of the cavity. Splatters will slide off effortlessly without scrubbing.
Clean the Door Seal and Latch Area
Wipe down the rubber door gasket and surrounding frame with a damp cloth. Grease and food oils frequently accumulate here, preventing an airtight microwave seal.
Sanitize Exterior and Control Panel
Wipe the exterior stainless steel casing, handle, and touch control panel using a slightly damp microfiber cloth with mild dish soap. Never spray liquids directly onto digital display panels or ventilation louvers.
Recommended Products vs. Prohibited Cleaners
Using incorrect cleaning agents can permanently ruin interior coatings, scratch glass plates, or damage sensitive electronic components. Refer to this professional reference chart before selecting cleaning supplies for your microwave.
| Surface / Component | Recommended Products | Methods to Avoid |
|---|---|---|
| Glass Turntable Plate | Warm soapy water, dish soap, glass cleaner | Thermal shock (placing hot glass in freezing water) |
| Interior Cavity (Enamel/Stainless) | White vinegar, lemon juice, baking soda paste | Steel wool, abrasive scouring powders, oven cleaner |
| Waveguide Cover (Mica Sheet) | Damp microfiber cloth with mild soap | Saturating with water, harsh chemical sprays, scraping |
| Door Seal & Rubber Gasket | Warm water with a drop of dish soap | Harsh bleach, solvent cleaners, pulling or stretching gasket |
| Exterior Stainless Steel Casing | Microfiber cloth with mild dish soap or stainless cleaner | Chlorine bleach, abrasive pads, wiping against grain |
| Touchpad & Control Panel | Slightly damp microfiber cloth | Spraying liquids directly onto buttons or display panel |
The 8 Microwave Zones Most People Miss
When homeowners clean their microwaves independently, they typically only wipe the glass plate and the immediate eye-level back wall. Professional cleaning technicians inspect and sanitize eight hidden zones that accumulate grease, bacteria, and food debris over time.
1. The Waveguide Cover (Mica Sheet)
Located on the right interior wall or ceiling, this thin mica sheet covers the magnetron antenna. Grease splatters on this cover absorb microwave energy, leading to sparking, burning, and permanent damage if left uncleaned.
2. The Underside of the Glass Turntable
While the top surface gets washed, the underside and the recessed center hub frequently collect spilled liquids and crumbs that bake onto the glass coupler.
3. The Rubber Door Gasket and Seals
Microscopic food particles and grease oils lodge inside the folds of the rubber door seal, creating sticky residue and compromising the tight microwave door closure.
4. The Roller Support Track
The plastic ring and wheel assembly beneath the turntable accumulates sticky sugar and grease, causing jerky rotation and grinding noises during operation.
5. The Top Grill / Heating Element Cavity
In convection and combination microwave models, the overhead grill element accumulates grease splatters that produce smoke and burnt odors when heating.
6. The Overhead Vent Grills (Over-the-Range Units)
For built-in microwave hoods positioned above a stovetop, the bottom intake grills accumulate heavy cooking grease films that restrict airflow and fan efficiency.
7. Door Latch Holes and Safety Interlock Pins
The small rectangular latch holes on the front frame trap crumbs and sticky residue from fingers, occasionally interfering with smooth door latching mechanisms.
8. The Exterior Rear Casing and Power Cord
Dust, kitchen grease, and airborne particulate matter settle on the rear cooling vents and power cord, presenting a long-term maintenance oversight.
Recommended Cleaning Frequency Guide
Maintaining a hygienic microwave does not require heavy scrubbing if tackled on a consistent schedule. Here is the professional frequency schedule recommended for residential kitchens.
| Task | Frequency | Professional Recommendation |
|---|---|---|
| Spot wipe-down | After every messy use | Wipe splatters immediately while warm to prevent baking. |
| Glass turntable wash | Weekly | Remove and wash in sink with warm soapy water or dishwasher. |
| Full interior steam clean | Bi-weekly | Use lemon or vinegar steam method to dissolve grease and sanitize. |
| Door seal & gasket wipe | Monthly | Wipe with damp microfiber cloth to remove grease and food crumbs. |
| Waveguide cover inspection | Monthly | Check for grease buildup or burning; wipe gently with damp cloth. |
| Exhaust vent & exterior clean | Monthly | Wipe exterior casing, control panel, and overhead vent grill. |
When to DIY vs. When to Call Professional Cleaning Services
Routine microwave maintenance and bi-weekly steam cleaning are easily managed as part of regular household chores. However, there are specific circumstances where professional cleaning services provide indispensable value.
DIY Maintenance Is Ideal For
- Weekly glass turntable washing and quick food splatter spot wipes
- Bi-weekly vinegar or lemon steam cleanings to prevent grease buildup
- Using microwave splash covers (plate covers) to eliminate 95% of future wall splatters
- Placing an open box of baking soda inside the cavity to absorb ambient food odors
Call Professional Cleaning Services For
- Comprehensive move-in or move-out deep cleaning where appliances must look immaculate
- Quarterly or semi-annual whole-kitchen deep cleaning packages that include interior oven, range hood, and microwave sanitization
- Heavy grease removal on over-the-range microwave exhaust filters and intake vents
- Post-renovation deep cleaning to remove fine drywall dust and construction debris from appliance ventilation systems
The Five-Minute Prevention Routine That Makes Deep Cleaning Easier
A microwave becomes difficult to clean when tiny spills are repeatedly reheated. Heat turns sugars and proteins into a thin, brown film; the next spill sticks to that film; and the cycle continues until an ordinary wipe no longer works. The simplest solution is not a stronger cleaner. It is a small reset after the mess happens, before the appliance cools completely.
Keep a washable microwave cover close to the appliance and use it for soups, sauces, oatmeal, leftovers, and anything that can bubble. After a spill, let the appliance cool briefly, remove the turntable, and wipe the floor, lower door edge, and cover with a damp microfiber cloth. If the spill has dried, heat a bowl of water for one to two minutes first; the steam softens residue without requiring abrasion. Returning the turntable only after both parts are dry keeps moisture from collecting beneath it.
A simple weekly reset
- Wash the glass turntable and roller ring in warm, soapy water.
- Steam the cavity briefly, then wipe the ceiling, side walls, floor, and door seal.
- Check the waveguide cover for grease, dark marks, or damage; do not scrub it aggressively.
- Finish by wiping the handle and keypad with a barely damp cloth, never spraying liquid directly onto controls.
Frequently Asked Questions
How do I get rid of a stubborn burnt popcorn smell in my microwave?
Burnt popcorn odor penetrates plastic and interior enamel surfaces. To eliminate it, place a glass bowl filled with 1 cup of water, 3 tablespoons of lemon juice, and 2 tablespoons of baking soda in the microwave. Heat on high for 5 minutes, then keep the door closed for 15 minutes without opening. The steam and active deodorizers will neutralize the charred aroma. Wipe down the interior with a clean damp cloth afterward.
Is it safe to use commercial oven cleaner inside a microwave?
No. Commercial oven cleaners often contain harsh lye, sodium hydroxide, or strong alkaline solvents that can permanently etch, discolor, or corrode microwave interior cavity walls, aluminum grease filters, and plastic trim. Always adhere to mild natural solutions like vinegar, lemon, or baking soda.
What is the waveguide cover and why is it important?
The waveguide cover (often a small rectangular cardboard-like sheet made of mica) is located on the right interior wall or ceiling of the microwave cavity. It allows electromagnetic waves to pass into the cooking chamber while shielding the delicate magnetron antenna from grease splatters and food particles. If grease accumulates on the cover, it can arc, burn, and ruin the microwave.
Why does my microwave spark when I turn it on?
Sparking is typically caused by three factors: food splatters or carbonized grease accumulated on the waveguide cover acting as a conductor; exposed metal elements (such as foil-lined packaging or metallic bowls); or a damaged waveguide cover that needs replacement. Stop operation immediately, clean the interior thoroughly, and inspect the mica sheet.
How often should the glass turntable plate be washed?
The glass turntable plate should be washed weekly in warm soapy water or placed in the dishwasher. Because food spills directly onto the glass during daily heating, unwashed plates accumulate organic residue that attracts bacteria and produces unpleasant odors.
Can I use essential oils to freshen microwave odors?
Yes. Adding 2 or 3 drops of lemon, orange, or lavender essential oil to your steam bowl water during a cleaning cycle can impart a pleasant, natural fragrance while helping break down grease molecules. Ensure you wipe down the interior thoroughly afterward so food does not absorb chemical fragrance notes.
What is the best way to prevent food from splattering in the microwave?
The single most effective preventative measure is using a microwave-safe plate cover or inverted microwave dome lid over every dish you heat. This traps splatters on an easily washable plastic cover rather than the interior walls and ceiling of the appliance, reducing deep cleaning frequency by over 90%.
Ready for a Spotless, Professionally Cleaned Kitchen?
Green Planet Cleaning provides expert residential cleaning services throughout San Francisco and Marin County using eco-friendly products and meticulous professional standards. Book your cleaning service today.
Book Online Now