

How to Clean Baseboards Without Damaging Paint
An exhaustive, multi-disciplinary guide to preserving architectural woodwork, understanding the complex chemistry of cleaning agents, preventing moisture-induced degradation, and establishing a professional-grade maintenance routine for the modern home.
The Architectural Significance and Physics of Baseboards
Baseboards serve a vital dual purpose in residential and commercial architecture. Structurally, they bridge the critical junction between interior walls and flooring, concealing expansion gaps, uneven drywall cuts, irregular flooring termination lines, and complex wiring channels. Aesthetically, clean, crisp baseboards frame a room, creating sharp optical boundaries that elevate the perceived finish quality of the entire interior. However, because baseboards sit at floor level, they endure an unrelenting barrage of dust, pet dander, microscopic debris, scuff marks from footwear, moisture splashes from floor cleaning, and physical impacts from furniture and vacuum cleaners.
The physics of dust accumulation on baseboards is driven by several factors: gravity, airflow patterns, and electrostatic attraction. As air circulates through a home's HVAC system, heavier particulate matter eventually settles on horizontal surfaces. The top bevel of a baseboard acts as a narrow shelf, catching falling debris. Furthermore, the friction of foot traffic on carpets and synthetic flooring generates static electricity, which pulls airborne dust toward the vertical surfaces of the trim. Understanding these forces is the first step in developing an effective mitigation strategy.
Despite their visual prominence, baseboards are frequently overlooked during routine house cleaning sessions until accumulated grime becomes visually offensive. When homeowners finally decide to tackle them, improper techniques—such as aggressive scrubbing with abrasive scouring pads, soaking engineered wood in standing water, or applying harsh chemical solvents—frequently result in severe collateral damage. Paint peels away from primer layers, polyurethane finishes cloud and haze, and medium-density fiberboard (MDF) swells irreversibly at the seams, transforming a simple cleaning task into an expensive carpentry and painting repair project.
Mastering baseboard maintenance requires a thorough understanding of material science, mechanical soil removal, and chemical safety. By matching your cleaning protocol to the specific substrate—whether traditional painted wood, clear-coated natural timber, or modern engineered fiberboard—you can achieve immaculate results while extending the lifespan of your architectural finishes by decades. This guide explores the chemistry of cleaning, the mechanics of dust attraction, step-by-step washing protocols, specialized stain remediation, and long-term preventative strategies.
The Chemistry of Cleaning Agents: Surfactants and pH Balance
To clean baseboards effectively without damage, one must understand the chemical interactions between cleaning solutions and architectural coatings. Most household dirt is a complex mixture of organic oils, proteins, and inorganic minerals. Removing these contaminants requires surfactants—molecules with a hydrophilic (water-loving) head and a hydrophobic (water-fearing) tail. Surfactants lower the surface tension of water, allowing it to penetrate and lift oily soils from the paint surface.
However, the pH level of the cleaning solution is critical. The pH scale ranges from 0 (highly acidic) to 14 (highly alkaline), with 7 being neutral. Most interior paints and clear coats are formulated to be stable near the neutral range. Highly alkaline cleaners (pH 9-12), such as those containing ammonia or heavy degreasers, can react with the resins in latex and acrylic paint, causing them to soften and lose their adhesion. Conversely, highly acidic cleaners (pH 2-4), like undiluted vinegar or lemon juice, can etch the surface of polyurethane and lacquer, leading to a permanent loss of sheen.
For professional-grade baseboard cleaning, a strictly pH-neutral detergent is recommended. This provides sufficient surfactant activity to emulsify oils without compromising the chemical integrity of the paint film. Furthermore, the temperature of the water plays a role; lukewarm water (approximately 80-100 degrees Fahrenheit) increases the kinetic energy of the cleaning molecules, improving their ability to break down stubborn grime without the need for aggressive mechanical scrubbing.
Understanding Baseboard Materials and Their Vulnerabilities
Before applying any liquid cleaning solution or mechanical tool to your baseboards, you must accurately identify their composition. Different architectural materials react dramatically differently to moisture, pH levels, and friction. Treating medium-density fiberboard the same way you treat solid oak or factory-primed pine will inevitably compromise the integrity of the installation.
1. Painted Wood and Trim Substrates
Painted baseboards are typically crafted from finger-jointed pine, poplar, or MDF, coated with multiple layers of primer and topcoat (often latex, acrylic enamel, or oil-based alkyd paint). While oil-based paints offer superior hardness, leveling, and moisture resistance, modern interior trims overwhelmingly feature water-based acrylic enamels for environmental, health, and fast-curing reasons. Acrylic paint forms a flexible, durable film, but it can soften when exposed to prolonged heat or aggressive alkaline detergents.
A common vulnerability in painted trim is "tackiness" or "blocking," where the paint remains slightly soft even after curing. Aggressive cleaning can pull the paint film away from the substrate, especially near floor-level joints where moisture from mopping may have already weakened the bond. Therefore, strictly pH-neutral surfactants and gentle mechanical wiping are mandatory for long-term paint preservation.
2. Stained and Sealed Natural Wood Trim
Natural wood trim highlights organic grain patterns sealed with polyurethane, shellac, or conversion varnish. The protective topcoat is what actually makes contact with cleaning cloths and airborne dust. While these clear finishes are chemically resilient, they are susceptible to scratching from abrasive particles trapped in dirty cleaning rags. Additionally, alkaline cleaners can break down lacquer and shellac sealants, leading to white hazing or sticky residue accumulation.
Polyurethane finishes, both water-based and oil-based, tolerate mild cleaning agents well, but they require careful drying to prevent water spots. If a stained baseboard has a damaged clear coat where bare wood is exposed, moisture will cause dark water stains that require sanding and re-varnishing to correct. Natural wood also reacts to changes in humidity; dry air can cause the wood to shrink, opening gaps at the miter joints where dust can accumulate.
3. Medium-Density Fiberboard (MDF) Baseboards
Medium-Density Fiberboard is fabricated by breaking down hardwood or softwood residuals into fine wood fibers, combining them with wax and synthetic resin binders, and forming panels under high temperature and pressure. While MDF provides an exceptionally smooth surface without knots, grain warping, or splitting, it possesses an inherent vulnerability: extreme susceptibility to water damage.
When liquid penetrates unsealed edges, miter cuts, or nail countersinks, the compressed wood fibers absorb the moisture and swell permanently. Unlike solid wood, which may shrink back as it dries, swollen MDF disintegrates internally, destroying the profile geometry and requiring complete replacement. Consequently, cleaning MDF baseboards demands rigorous moisture control and immediate drying protocols.
| Material Type | Moisture Sensitivity | Safe pH Range | Primary Risk Factor |
|---|---|---|---|
| Painted Wood | Moderate (Seal dependent) | Neutral (6.5 - 7.5) | Paint chipping, peeling edges |
| Stained / Polyurethane | Low to Moderate | Neutral (6.0 - 8.0) | Surface scratching, hazing |
| Medium-Density Fiberboard | Extreme (High vulnerability) | Strictly Neutral (7.0) | Irreversible swelling at joints |
Interactive Material Cleaning Selector
Select your baseboard material below to view tailored cleaning protocols, chemical warnings, and safety precautions.
Painted Wood Baseboards
Painted wood baseboards are the standard for contemporary interior architecture, offering a clean, uniform finish that defines room boundaries. They are typically finished with high-quality acrylic enamels or latex-based paints. However, these finishes are susceptible to softening if exposed to harsh alkaline detergents or solvent-based cleaners that can break down the paint's resin binders.
Historical Evolution of Baseboard Profiles
The design and cleaning requirements of baseboards have evolved significantly over the centuries. In the Victorian era, baseboards were often elaborate, multi-piece assemblies consisting of a base shoe, a tall baseboard, and a decorative cap molding. These intricate profiles, often reaching 10 to 12 inches in height, were designed to reflect the grandeur of the home but created numerous crevices where coal dust and soot could accumulate. Cleaning these required specialized brushes and significant labor.
The Craftsman and Arts and Crafts movements of the early 20th century introduced simpler, flat-profile baseboards, often made of dark-stained oak or chestnut. These designs emphasized the natural beauty of the wood and were easier to maintain, though the horizontal top edges still caught dust. In the Mid-Century Modern era, baseboards became even more minimalist, sometimes disappearing entirely in favor of "recessed" base details that created a floating wall effect.
Today, colonial and ranch-style baseboards are the most common in suburban homes. These modern profiles are typically 3 to 5 inches tall and feature a simple rounded or ogee top edge. Understanding the historical style of your trim can help you choose the right detailing tools. For example, a Victorian-era baseboard with deep grooves will require detailing brushes and cotton swabs, whereas a modern flat-stock baseboard can be efficiently cleaned with a flat microfiber pad.
Essential Tools and Supplies Inventory
Proper preparation eliminates frustration and prevents accidental damage. Gathering the correct toolkit before starting ensures that you never have to scramble mid-task or resort to improvised tools that might scratch finishes. Professional house cleaners rely on specific, non-abrasive instruments designed to maximize cleaning efficiency while safeguarding delicate architectural coatings.
Dry Soil Extraction Instruments
Attempting to wash baseboards that are covered in accumulated dust turns the dry particulate matter into muddy paste, cementing it into inside corners and making removal exponentially harder. Always begin with thorough dry soil extraction using dedicated vacuum attachments and electrostatic dusting tools.
- Vacuum cleaner with a soft horsehair brush attachment: Removes loose grit, pet hair, and cobwebs from the top bevel and floor joint without scratching delicate paint or clear coats.
- Microfiber dusting wand or electrostatic cloth: Attracts and traps fine particulate matter through static charge rather than blowing it into the surrounding indoor air.
- Soft-bristled artist paintbrush or detailing brush: Ideal for sweeping out accumulated dust from intricate colonial molding profiles, beadboard grooves, and carved architectural details.
- Crevice tool attachment: Reaches tight spaces behind heavy furniture and radiators where standard dusting tools cannot maneuver.
Washing and Conditioning Supplies
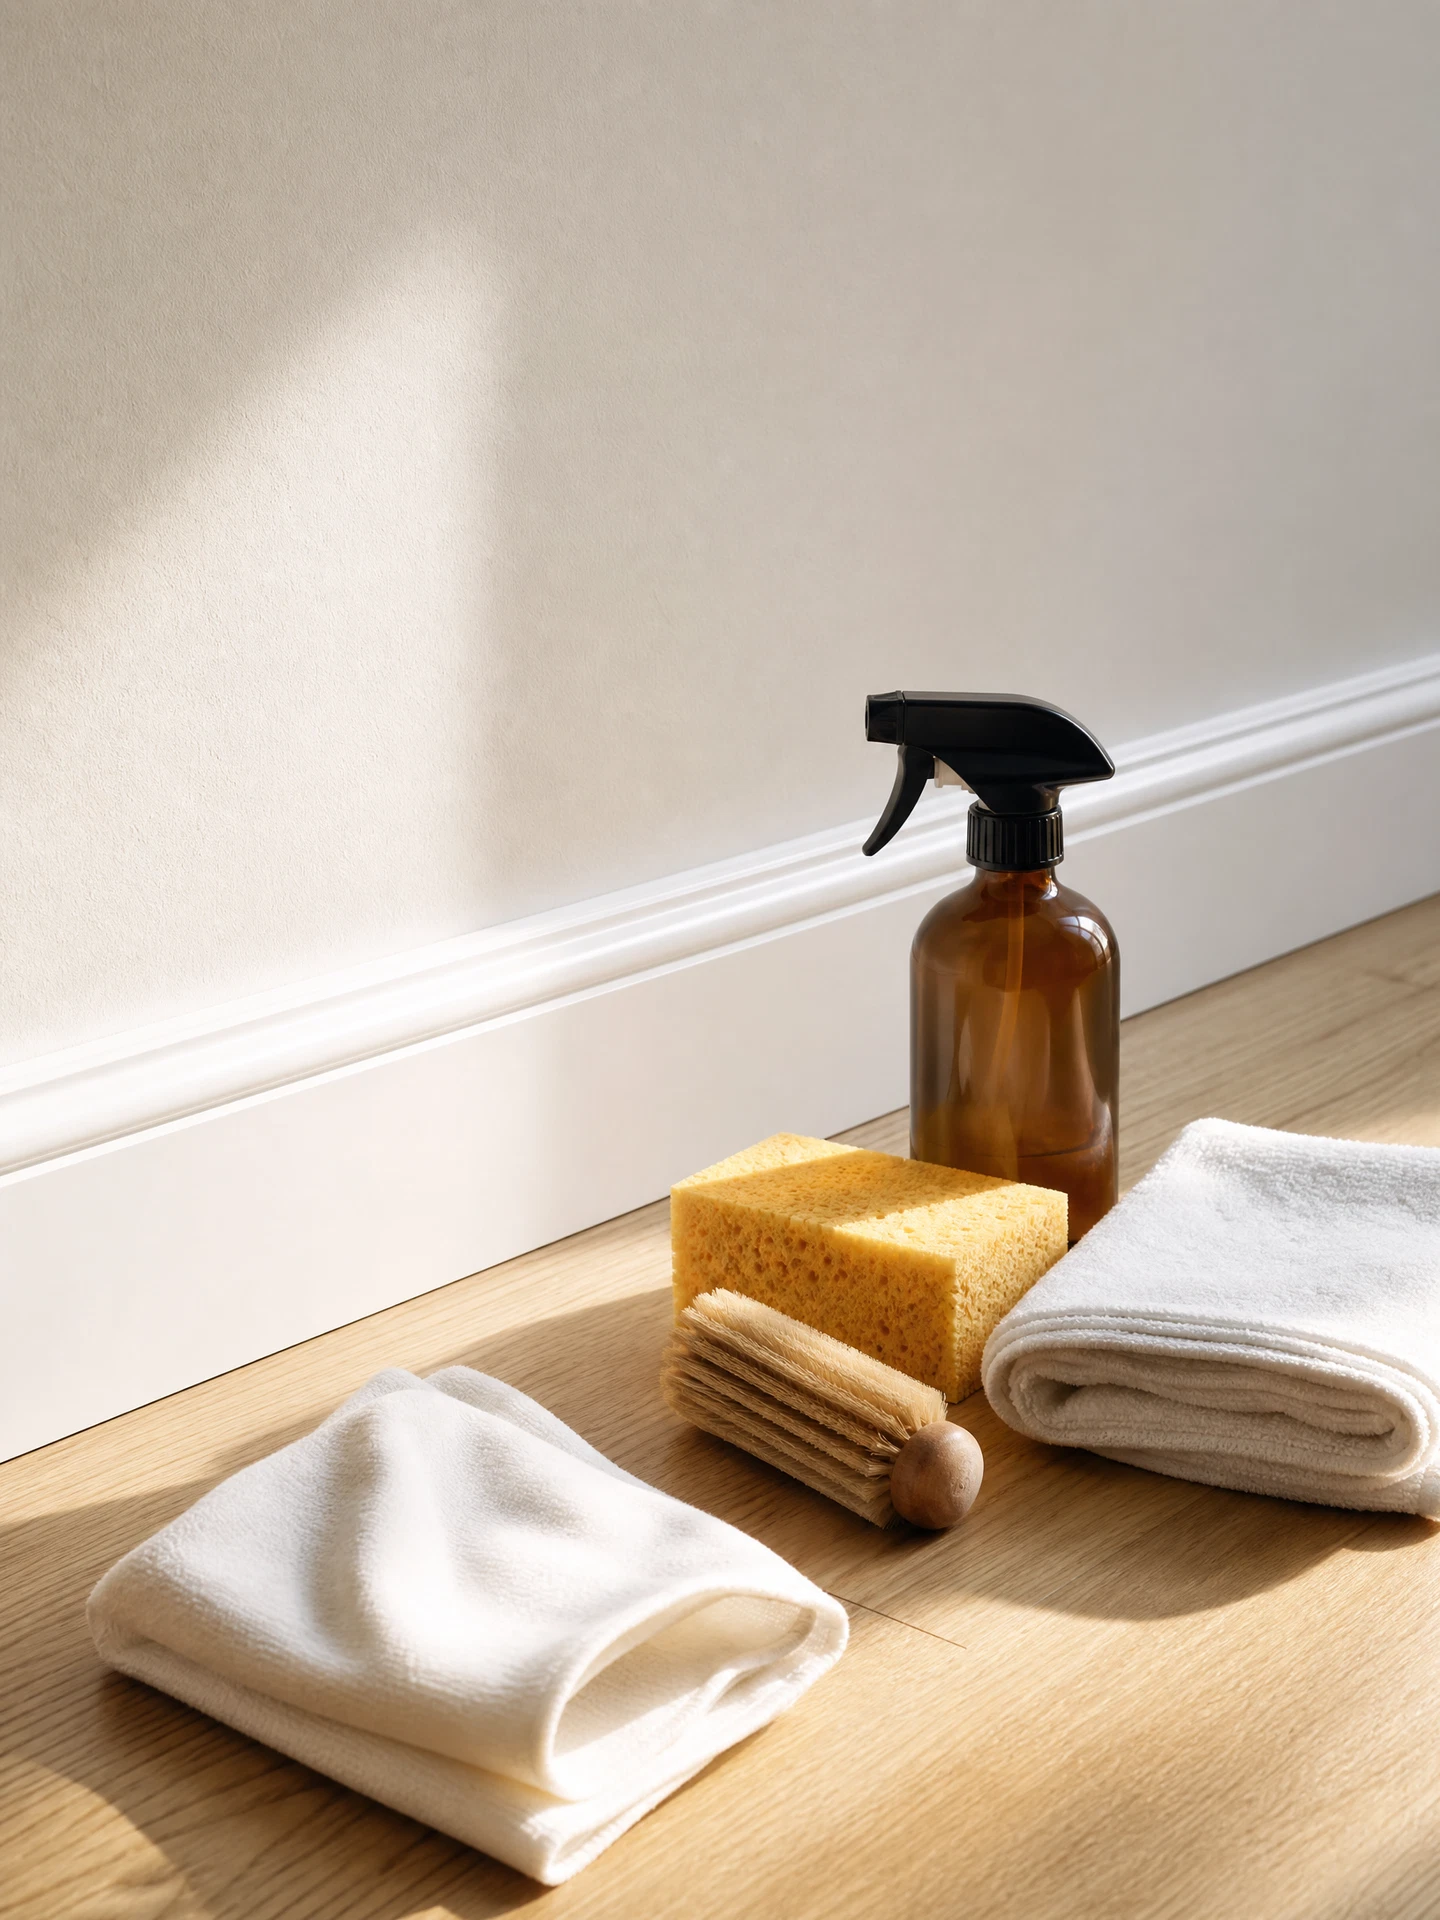
When transitioning from dry dusting to wet cleaning, keep your liquid application minimal and controlled. High-GSM (grams per square meter) microfiber towels are essential because their split fibers trap moisture and grime efficiently without requiring chemical solvents.
- Two-bucket system or spray bottle: One bucket for soapy wash solution and one for clean rinse water, or a spray bottle to mist cloths rather than soaking surfaces directly.
- pH-neutral dish soap: A few drops in warm water provide sufficient surfactant power to lift grease and grime without stripping paint or finishes.
- High-density microfiber cloths: Soft, non-abrasive cloths that hold moisture effectively and lift particulate matter without leaving lint fibers behind.
- Cotton swabs (Q-tips): Essential for cleaning tight inside corners and miter joints where dust and grime accumulate stubbornly.
- Knee pads or low rolling seat: Ergonomic support to prevent physical strain during extended baseboard cleaning sessions across large homes.
Step-by-Step Baseboard Cleaning Protocol
Executing baseboard cleaning in a systematic, chronological sequence ensures uniform results across every room in your home. Rushing or skipping steps often leads to missed spots, uneven cleaning, and avoidable water damage. Follow this four-stage professional protocol for optimal results.
Stage 1: Complete Dry Soil Extraction
Start by running your vacuum cleaner equipped with a soft horsehair brush attachment along the top edge and floor junction of every baseboard. Move slowly to capture pet hair, carpet fibers, and dust bunnies that congregate near walls. Follow up by wiping surfaces with a dry microfiber cloth or electrostatic duster. Pay special attention to inside corners where HVAC vents and foot traffic concentrate airborne particulate matter. Never introduce moisture until all dry soil has been completely removed.
Stage 2: Solution Formulation and pH Verification
Fill a bucket with lukewarm water and add just one teaspoon of mild, pH-neutral dish soap. Over-saturating the water with soap leaves a sticky surfactant film that actually attracts fresh dust particles within days of cleaning. If disinfecting is necessary in high-traffic mudrooms or pet areas, add a tablespoon of white vinegar, provided your baseboards are finished with durable acrylic enamel rather than shellac or lacquer. Test the solution on a hidden section before proceeding.
Stage 3: Controlled Moisture Application and Wiping
Submerge your microfiber cloth in the cleaning solution and wring it out thoroughly until it is damp rather than dripping. Fold the cloth into a manageable square. Working in manageable four-foot sections, wipe along the grain of the wood or horizontally along the trim. For ornate molding with grooves, wrap the cloth around your index finger or use a cotton swab to reach into recessed channels. Never allow water to pool in corners or settle along the floor joint.
Stage 4: Rinsing and Immediate Buff Drying
Pass over the cleaned section immediately with a second microfiber cloth dampened only with clean water to remove any residual soap film. Following the rinse, take a dry, lint-free microfiber towel and buff the surface completely dry. Ensuring absolute dryness prevents water spotting on clear-coated wood and stops moisture from penetrating unsealed joints in MDF or painted trim.
Caulking and Sealing: The Invisible Barrier
A critical but often overlooked aspect of baseboard maintenance is the integrity of the caulking seal between the top of the baseboard and the wall. This seal prevents dust, moisture, and insects from entering the wall cavity. Over time, as the home settles and humidity fluctuates, this caulk can dry out, crack, and separate.
During your annual deep cleaning, inspect the caulking lines. If you notice cracks, use a damp cloth to remove any dust from the gap, then apply a thin bead of high-quality, paintable acrylic latex caulk. Smooth the bead with a wet finger or a caulking tool for a professional finish. Maintaining this seal not only makes cleaning easier by preventing dust from falling into the gap but also improves the overall aesthetic by maintaining a seamless transition between wall and trim.
Similarly, the joint where the baseboard meets the floor should be monitored. In homes with hardwood floors, a "base shoe" or "quarter round" molding is often used to cover the expansion gap. This joint is particularly susceptible to moisture from floor mopping. Ensuring that the base shoe is properly finished and that no gaps exist will protect the main baseboard from water wicking up from the floor.
Specialized Scuff and Stain Remediation
Even after thorough washing, stubborn blemishes like rubber heel marks, scuffs from furniture legs, crayon scribbles, permanent marker, and pet grime often persist. Standard soap and water will not remove these marks without excessive rubbing that can strip paint or dull clear coats. Safe, targeted remediation techniques are required.
Erasing Black Rubber Scuff Marks
Black streaks caused by shoe heels or vacuum cleaner bumpers are actually rubber or plastic transfer deposits sitting on top of the paint film. Melamine foam sponges (commonly known as magic erasers) dampened with water can lift these marks effortlessly. However, use extremely light pressure: melamine foam acts as an ultra-fine abrasive and will dull glossy or semi-gloss paint sheens if scrubbed aggressively.
Treating Crayon, Wax, and Adhesive Residue
If children or pets have left crayon marks, tape adhesive, or sticker residue on your baseboards, avoid harsh petroleum-based solvents that can dissolve latex and acrylic paint. Instead, apply a small amount of mineral oil or vegetable oil to a cotton ball. The oil will break down wax and adhesive polymers safely through gentle solvent action. Once the residue dissolves, wipe the area thoroughly with soapy water to remove residual oil film before repainting or sealing.
Impact of Indoor Air Quality (IAQ) and HVAC Filtration
The frequency with which you must clean your baseboards is directly linked to your home's indoor air quality and the efficiency of your HVAC filtration system. Airborne dust consists of skin cells, pet dander, pollen, textile fibers, and microscopic soil particles tracked in from outside. In homes with poor filtration, these particles circulate continuously until they settle on horizontal surfaces like baseboards.
To reduce baseboard maintenance, consider upgrading to high-efficiency MERV-rated air filters (MERV 11 to 13 is ideal for most residential systems). These filters capture a higher percentage of fine particulate matter, significantly reducing the volume of dust that settles on your trim. Additionally, maintaining clean air ducts and ensuring that supply and return vents are not blowing air directly onto walls can help keep baseboards cleaner for longer periods.
Using a HEPA-filtered vacuum cleaner is also essential. Standard vacuums without HEPA filtration often exhaust fine dust back into the air, where it eventually settles on the very baseboards you just cleaned. A HEPA vacuum traps 99.97% of particles as small as 0.3 microns, ensuring that the dust you remove stays removed.
Preventative Maintenance and Dust Repellent Strategies
The ultimate goal of professional cleaning is reducing the frequency and labor required for future maintenance. Implementing simple preventative measures can keep baseboards looking freshly painted and pristine for months between deep cleaning sessions.
The Anti-Static Dryer Sheet Method
Baseboards attract dust rapidly due to electrostatic charges generated by foot traffic, synthetic carpeting, and HVAC airflow. After cleaning and drying your baseboards, wipe them down lightly with a used fabric softener sheet or an anti-static dusting cloth. The microscopic surfactant residue left behind neutralizes static electricity, causing airborne dust particles to slide off the vertical surface rather than clinging to it.
Environmental Humidity Control
Wood and MDF expand and contract with fluctuations in relative indoor humidity. Extreme swings cause wood to warp, miters to crack open, and paint to fissure. Maintaining indoor humidity between 35% and 50% using HVAC humidifiers or dehumidifiers protects architectural trim from stress fractures and preserves paint integrity.
| Maintenance Interval | Recommended Action | Key Focus Areas |
|---|---|---|
| Bi-Weekly | Dry dust / vacuum attachment | High-traffic hallways, living rooms |
| Quarterly | Damp wash & dry buffing | Kitchens, mudrooms, entryways |
| Annually | Detailed inspection & touch-ups | Entire home perimeter, caulking check |
Interactive Room-by-Room Baseboard Cleaning Planner
Track your progress as you clean your home. Check off each step for every room to monitor overall completion.
Living Room
In ProgressPrimary Bedroom
In ProgressKitchen
In ProgressHallways & Entryway
In ProgressBathrooms
In ProgressHome Office
In ProgressDining Room
In ProgressGuest Bedroom
In ProgressFrequently Asked Questions
1. How often should baseboards be cleaned in a typical residential home?
For most homes, dry dusting should be performed bi-weekly to prevent particulate buildup, while a thorough damp washing and inspection is recommended on a quarterly basis. High-traffic areas such as kitchens, entryways, and hallways may require monthly washing due to higher exposure to moisture, dust, and scuff marks. Homes with pets or high-efficiency HVAC systems may need to adjust this frequency based on observed dust accumulation rates.
2. Can I use vinegar to clean painted baseboards?
Diluted white vinegar (mixed with warm water in a 1:10 ratio) is generally safe for modern acrylic enamel and latex painted baseboards. However, avoid using concentrated or pure vinegar on older oil-based paints or lacquered surfaces, as prolonged acid exposure can dull gloss finishes and degrade the topcoat over time. Always rinse with a damp cloth and buff dry to ensure no acidic residue remains on the surface.
3. What causes paint to peel off baseboards during cleaning?
Paint peeling typically indicates poor surface preparation during the original painting process—such as lack of primer, painting over glossy surfaces without sanding, or trapped moisture behind the film. If water seeps into unsealed miter joints during cleaning, it can lift weakened paint layers immediately. To prevent this, ensure all joints are properly caulked and avoid saturating the trim with liquid during maintenance.
4. Is it safe to use magic erasers on high-gloss baseboard paint?
Melamine foam sponges act as ultra-fine micro-abrasives. While they remove scuffs effectively, scrubbing high-gloss or semi-gloss painted baseboards with excessive pressure will dull the sheen, leaving a noticeable matte patch. Always use light pressure and test in an inconspicuous area first. If you do accidentally dull the finish, a small amount of polishing compound or a fresh coat of matching paint may be required to restore the sheen.
5. How do I prevent dust from accumulating so quickly on baseboards?
After cleaning and drying your baseboards, wipe them down lightly with a used anti-static dryer sheet or microfiber cloth treated with an antistatic spray. This leaves an invisible surfactant barrier that neutralizes static charge, causing airborne dust to slide off rather than cling to the vertical surface. Additionally, improving your home's HVAC filtration with MERV-13 filters will reduce the total volume of airborne dust available to settle on your trim.
6. What should I do if water damages medium-density fiberboard (MDF) trim?
If MDF baseboards absorb water and swell, the expansion is permanent because the compressed wood fibers cannot contract once bloated. Minor swelling can sometimes be sanded flat once completely dry and repainted, but severely distorted sections must be cut out and replaced by a qualified professional or carpenter. Check your lease agreement if renting before undertaking trim repairs, as unauthorized modifications may violate your rental terms.
7. How do professional cleaners handle delicate or antique wooden trim?
Professional cleaners prioritize dry soil extraction using horsehair brushes and electrostatic cloths before applying minimal moisture with specialized pH-neutral wood soaps. They avoid harsh chemical solvents, never saturate joints, and buff surfaces immediately with lint-free microfiber towels to protect antique patinas and delicate finishes. For high-value historic properties, they may also apply a breathable carnauba wax or specialized wood conditioner to preserve the finish's elasticity.
Professional Maintenance for Pristine Interiors
Maintaining architectural woodwork requires patience, precision, and consistent care. If you prefer to leave detailed deep cleaning and surface preservation to experienced professionals, Green Planet Cleaning delivers exceptional results using eco-friendly methods tailored to your home.