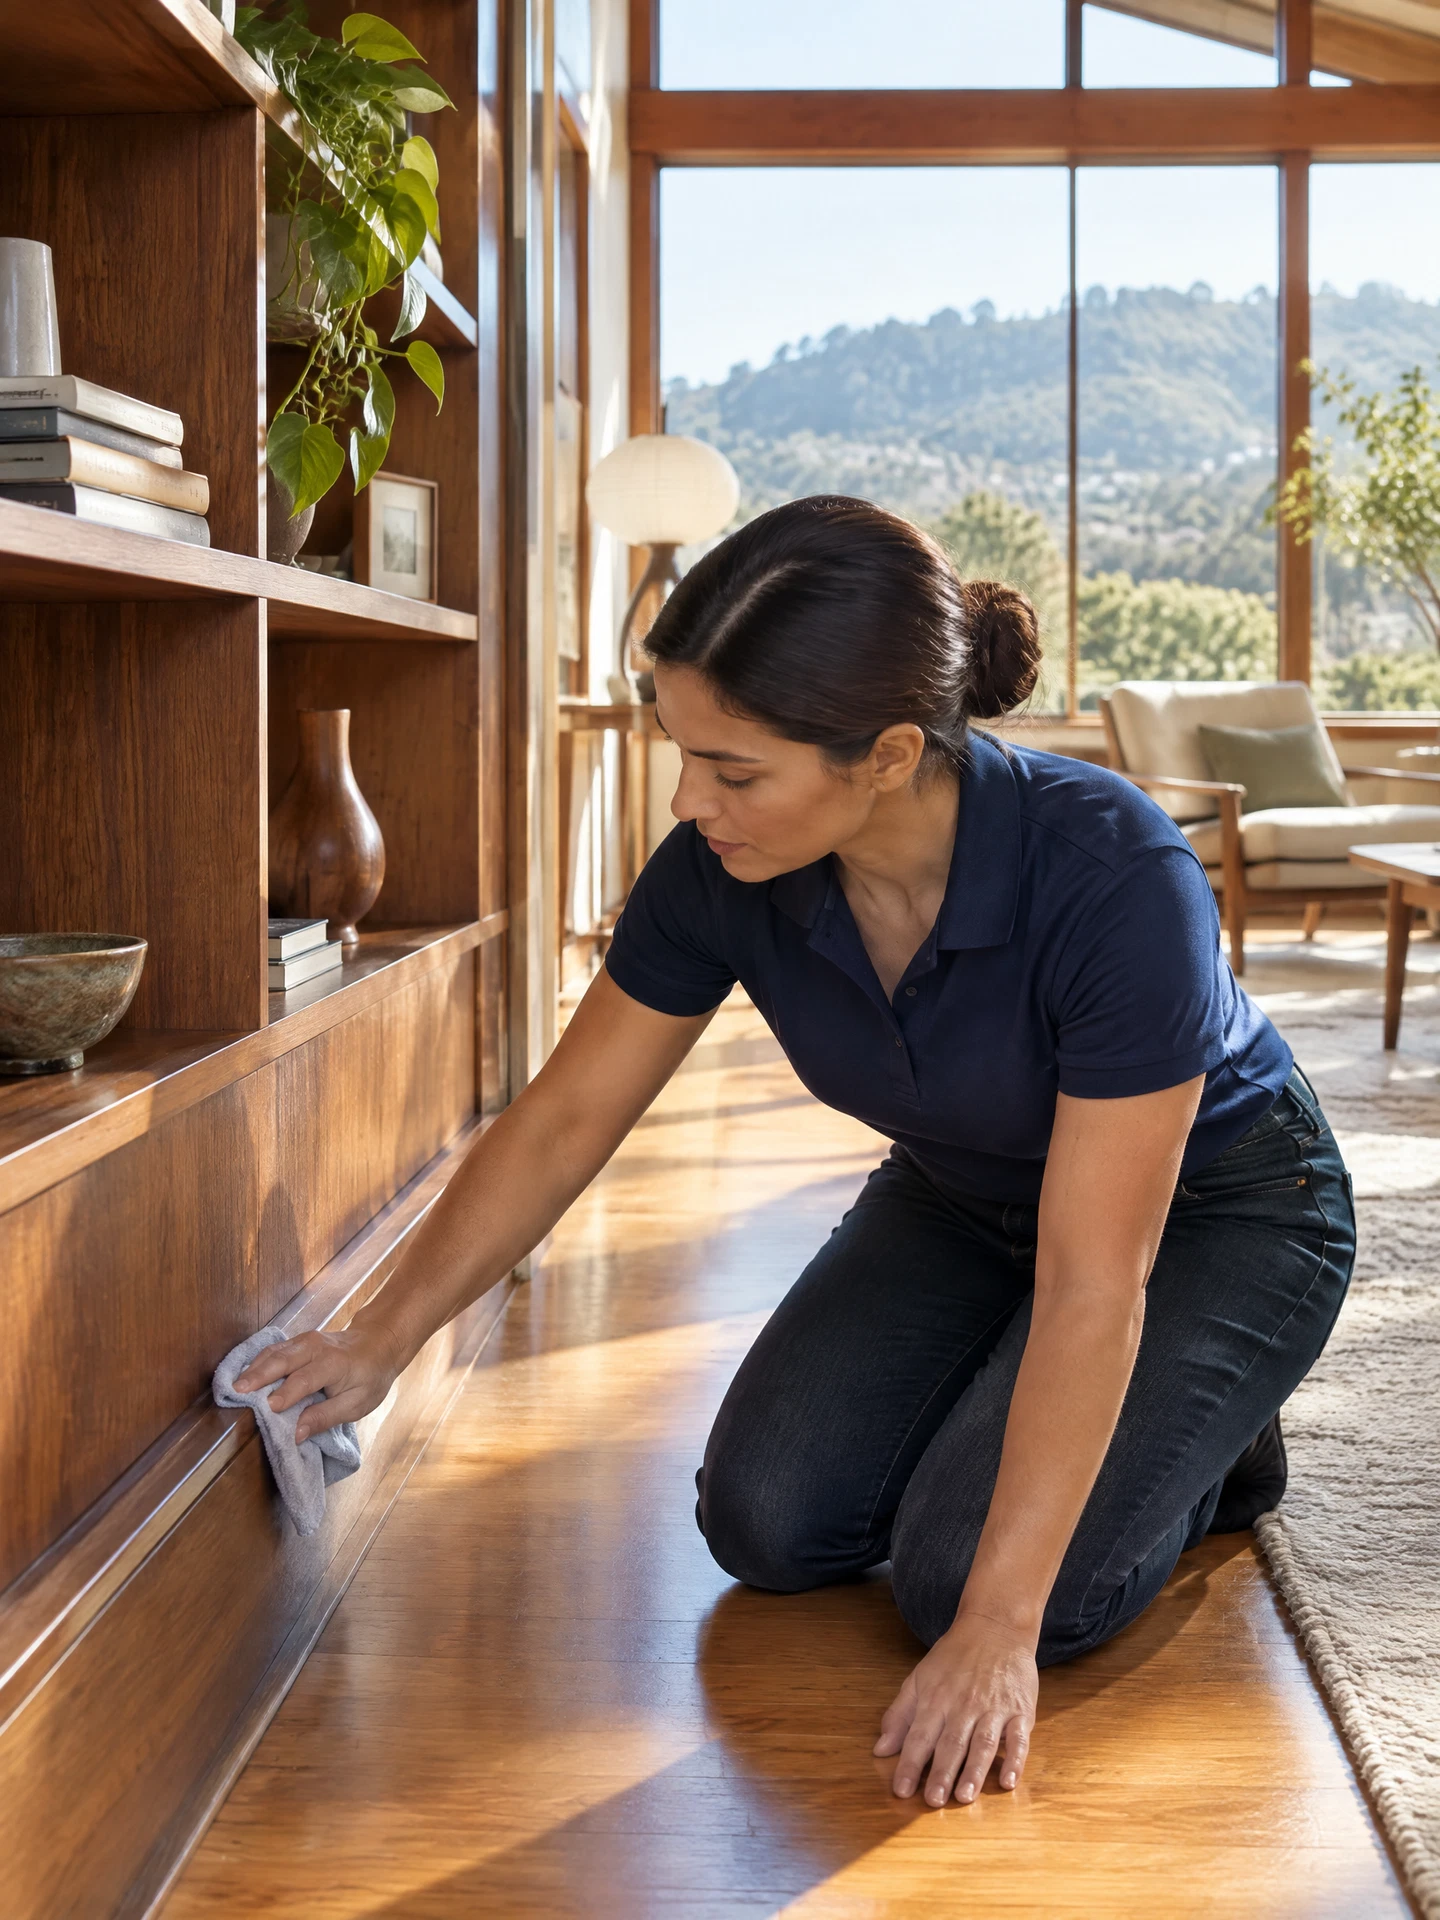



An apartment deep clean is a deliberate reset, not an attempt to make every surface look new in one afternoon. The most useful approach is to clear visual clutter first, work from high areas down to floors, and leave time for the details that routine cleaning often skips: the refrigerator shelves, cabinet fronts, fan blades, baseboards, and the space beside furniture. This apartment deep cleaning checklist organizes 40 practical tasks by room so you can work in a sensible order without bouncing from one supply to another.
Before starting, check the care instructions for your apartment's flooring, countertops, appliances, fixtures, and painted walls. A product that suits one material may not suit another finish. Use products only as directed on their labels, ventilate the area as the label calls for, keep products in their original containers, and never mix cleaning products. When in doubt about a specialty surface or a leased appliance, test an appropriate product in an inconspicuous spot or follow the manufacturer or property manager's instructions.
Practical note: Choose the method for the actual surface, read the product and manufacturer instructions, and test a discreet area whenever a finish is uncertain.
Set up an apartment deep clean that you can finish
Deep cleaning goes more smoothly when preparation does not become its own all-day project. Start by choosing a realistic scope: every room, the kitchen and bath only, or the rooms that receive the most daily use. Pick up laundry, papers, dishes, and loose items before applying a cleaner anywhere. Clearing each surface lets you see the actual work, prevents items from getting damp, and makes it easier to return belongings to their proper places.
Build a simple kit around the materials in your apartment rather than a large collection of products. Clean microfiber cloths, a soft brush or nonabrasive sponge, a vacuum with suitable attachments, a dusting tool, a mop matched to the floor, gloves, and a small caddy cover many ordinary tasks. Use separate cloths for kitchen and bathroom work, and change a cloth when it is visibly soiled. Read appliance and surface instructions before treating baked-on residue, mineral buildup, or an unfamiliar finish.
Use a top-to-bottom, dry-to-wet sequence in each room: remove dust, clean horizontal and vertical surfaces, then finish with floors. If you only have a short block of time, complete one room all the way through rather than starting five rooms at once. The planning table below helps identify the decisions and supplies to have ready before you begin; it is not a replacement for the room-by-room task list.
- Open windows or use ventilation when a product label or the room calls for it, and keep children and pets out of the work area until surfaces are dry as directed.
- Put one basket near the entry for items that belong in another room. Return them after the cleaning pass instead of interrupting each room repeatedly.
- Start with dry debris. Vacuuming or dusting before wiping helps avoid turning grit into a paste on floors, ledges, and countertops.
- Photograph existing damage or worn finishes before tackling a move-related clean, and ask the property manager what care rules apply to built-in surfaces.
Entry, living room, and dining area: restore the shared spaces
These rooms gather the evidence of everyday life: shoes by the door, crumbs under cushions, dust on media consoles, and fingerprints around switches. Begin at the doorway and circle the perimeter so small ledges, trim, and corners do not disappear from the plan. Move lightweight furniture only when you can do so without dragging it across the floor or straining yourself; a deep clean should not risk damage to the apartment or the item.
For wood or wood-look furniture, use the maker's care guidance before applying a product. For finished hardwood floors, excess water and abrasive tools can be a concern, so use a cleaner approved for that floor and a well-wrung or lightly damp microfiber method only if the manufacturer allows it. Vacuum with a floor-appropriate setting and attachment; avoid a beater bar on hardwood unless the flooring manufacturer says it is suitable.
- 1. Shake out the entry mat outdoors if appropriate, then vacuum both sides and the floor beneath it.
- 2. Dust the top edge of the front door, door frame, peephole area, and nearby trim with a dry microfiber cloth or duster.
- 3. Wipe high-touch door handles, light switches, and the entry console using a product and method suitable for the finished surface; follow the label directions.
- 4. Vacuum upholstered seating with the upholstery attachment, including under loose cushions and along seams; check the furniture tag before treating a stain.
- 5. Dust lamps, picture frames, shelf tops, window ledges, ceiling-fan blades, and the media console from top to bottom, supporting delicate items as you work.
- 6. Move small, light furniture if practical, vacuum the exposed edges and corners, then clean the floor according to its material and let it dry before putting items back.
Kitchen: work from storage to cooking surfaces
The kitchen benefits from a sequence that protects food, limits cross-contamination of supplies, and allows time for removable pieces to dry. Empty one zone at a time rather than covering the counter with everything from every cabinet. Check dates and condition as you go, discard items according to local rules, and keep food away from the area being cleaned. For countertops, use the care approach stated by the counter manufacturer; natural stone, quartz, laminate, porcelain, and solid surface materials may have different restrictions.
A glass or ceramic cooktop deserves particular restraint. Make sure it is turned off and cool to the touch before cleaning. Use only a cleaner, nonabrasive pad, or scraper method approved for that cooktop; avoid steel wool, abrasive powders, and any product the appliance manual says not to use. Stainless appliance exteriors also vary. A mild soap-and-water method with a soft microfiber cloth may be appropriate for many models, but fingerprint-resistant coatings can have more specific instructions, so the manual wins.
Finish the kitchen by cleaning from upper cabinets down to the floor. This keeps crumbs and dust from landing on freshly cleaned surfaces. Do not spray directly into control panels, outlets, or appliance vents. If an appliance manual specifies removable filters, drip trays, or shelves, follow its removal and reinstallation directions rather than forcing a part.
- 7. Empty and wipe one pantry or food cabinet at a time, removing crumbs with a vacuum or dry cloth before wiping the interior with a method compatible with the cabinet finish.
- 8. Remove refrigerator shelves and drawers only as the appliance instructions allow, clean them with the recommended method, dry them fully, and wipe the exposed interior surfaces before reinstalling.
- 9. Wipe cabinet fronts, pulls, and drawer fronts with a soft cloth and a product suitable for the finish, paying attention to the edges around handles.
- 10. Clean the countertop in small sections using the surface manufacturer's care guidance; use a cutting board rather than treating knife marks as a cleaning problem.
- 11. Scrub the sink and rinse according to the sink material's care instructions, then dry the faucet and surrounding rim with a clean cloth to reduce visible water spotting.
- 12. Wipe the faucet, soap dispenser, backsplash, and window ledge, taking care not to soak seams, caulk, electrical outlets, or unsealed wood.
- 13. Clean the microwave interior after removing loose crumbs; use only the method in the appliance manual for its turntable, vents, and control panel.
- 14. Clean the cooktop only when cool, using the appliance-approved method and a nonabrasive tool; for stubborn residue, use a scraper only if the manufacturer permits it.
- 15. Wipe the exterior of the range, refrigerator, dishwasher, and small appliances with a method matched to each finish; follow the grain on stainless steel where applicable and dry the surface.
- 16. Vacuum or sweep beneath the toe-kick, around the bin area, and along the floor edges, then mop the kitchen floor with a floor-compatible method.
Apartment deep-clean planning table
Use this planning table before you start. It keeps the order practical and identifies the decisions to make in advance rather than repeating the 40 room tasks.
| Planning stage | Decide before you begin | Keep nearby | Move on when |
|---|---|---|---|
| Scope the session | Choose the rooms you can complete today and identify any fragile, leased, or specialty surfaces. | A note with room priorities, care instructions, and a basket for misplaced items. | The apartment has a realistic room order and no loose clutter blocks the work. |
| Match products to materials | Identify flooring, counter, appliance, shower, and cabinet finishes; exclude products that the manufacturer does not permit. | Product labels, manufacturer guidance, clean microfiber cloths, nonabrasive tools, and gloves. | You know what method is appropriate for each major surface. |
| Sequence the rooms | Start in the least-used room or run laundry first, then work high to low inside each room. | Vacuum attachments, duster, room-specific cloths, and a caddy. | Dry dust and loose debris are removed before wet cleaning begins. |
| Manage drying time | Plan where linens, shelves, mats, and floors can dry without blocking walkways or collecting dust. | Drying rack or clean towels, a spare cloth, and open ventilation if appropriate. | Cleaned components and floors are dry enough to reassemble or walk on. |
| Close out the clean | Separate maintenance problems from cleaning work and decide what you will handle, report, or schedule later. | A short note, phone camera for existing damage, and storage space for clean tools. | Supplies are cleaned and stored, and repair concerns are documented. |
Bathroom: focus on residue, fixtures, and overlooked edges
A bathroom deep clean starts with ventilation and a clear counter. Put towels, toothbrushes, cosmetics, and personal items aside so they do not get product overspray. Read the labels of any bathroom cleaner and follow the stated contact, rinsing, and ventilation directions. Never combine cleaners. For older tile, natural stone, painted cabinetry, or specialty shower finishes, consult the applicable care guidance before choosing a product or scrub tool.
Work high to low and use a separate cloth or brush for the toilet area. Gentle tools and patience are usually a better choice than aggressive abrasion: abrasive pads can affect polished fixtures, shower doors, and certain wall finishes. If a faucet aerator, drain cover, or showerhead does not come apart easily, do not force it. Use the product and fixture manufacturer's instructions or request maintenance help for a part that needs service.
A bathroom can look finished while corners and under-sink areas still hold dust. The final floor pass is where those details get attention. Let the floor dry before replacing bath mats, scale, bins, or storage containers so the room is usable again without trapping moisture underneath.
- 17. Remove items from the vanity, medicine cabinet, and open shelves, discarding empty packaging and wiping the surfaces with a finish-appropriate method before returning only what you use.
- 18. Clean the mirror with a product approved for glass, applied to a cloth rather than into the mirror edge or nearby wall, then buff with a clean lint-free cloth.
- 19. Wash the sink basin, rim, faucet, and handles with a method suitable for their materials, then rinse or wipe away residue as the product label directs.
- 20. Wipe vanity fronts, pulls, drawer edges, and the wall or backsplash around the sink with minimal moisture appropriate to the finish.
- 21. Clean shower or tub walls, ledges, fixtures, and doors using a product compatible with the enclosure material; rinse and dry where the instructions call for it.
- 22. Clean the toilet bowl using a toilet-bowl product only as directed, then wipe the exterior surfaces with a separate cloth and product suitable for the surfaces.
- 23. Empty and wipe the waste bin, dust the exhaust-fan cover only from the exterior if accessible, and vacuum the corners, behind the door, and around the toilet base.
- 24. Launder removable bath mats according to their care labels, then clean the bathroom floor with the method specified for the flooring and allow it to dry.
Bedrooms and closets: clean the places that get covered up
Bedrooms have fewer hard-working surfaces than kitchens, but they collect fabric lint, dust behind furniture, and belongings that migrate to nightstands. Strip the bed first so linens can be washed according to their care labels while you clean the room. Work around electronics carefully: power them down if needed, use a dry or barely damp cloth only where their manufacturer permits, and avoid spraying directly onto screens, cables, outlets, or power strips.
Closets do not need to be emptied indiscriminately to be deep-cleaned. Select one shelf, drawer, or clothing category, remove what is there, vacuum debris, and wipe with the appropriate low-moisture method. Return clean, useful items and set aside clothing or household goods to donate, repair, recycle, or store. This makes the room easier to maintain without turning the task into a major reorganization project.
- 25. Strip the bed, check the care labels, and launder sheets, pillowcases, and washable bedding as instructed; leave the mattress uncovered while you clean nearby surfaces.
- 26. Vacuum the mattress surface and seams with the upholstery attachment if the mattress maker permits, avoiding saturation and allowing it to air out before remaking the bed.
- 27. Dust the headboard, bed frame, nightstands, lamps, picture frames, window ledges, and the tops of doors or trim, working from high surfaces down.
- 28. Wipe nightstand tops, drawer pulls, switch plates, and other finished hard surfaces with a cleaner appropriate to their material and a lightly damp cloth when suitable.
- 29. Vacuum closet floors, shelf tops, baseboards, and the space under the bed; clean closet shelves one section at a time with a finish-compatible method.
- 30. Vacuum the room perimeter and under movable furniture, then clean the floor with the method specified for carpet, wood, laminate, vinyl, tile, or another installed material.
Laundry, utility, balcony, and small spaces: do the high-value details
Small apartment zones can quietly become catchalls for lint, packaging, cleaning supplies, and shoes. Treat them as short, contained projects. Keep appliance manuals nearby rather than guessing about a dispenser, filter, lint screen, or drain. Before moving a washer or dryer, check whether it is safe and permitted in your apartment, and do not disconnect appliances or disturb plumbing, gas, or electrical connections as part of a routine cleaning session.
For a balcony or patio, follow building rules about water, runoff, and debris. Dry sweeping and spot cleaning are often more appropriate than hosing a multi-unit balcony. Avoid pushing dirt, cleaning solution, or water toward drains, neighboring spaces, or building exteriors. If you see persistent leaks, loose railings, damaged caulk, or an appliance issue, document it and notify the property manager rather than trying to repair it during the clean.
- 31. Clear the laundry or utility shelf, discard empty containers responsibly, and wipe the shelf, cabinet fronts, and handles with a material-compatible method.
- 32. Clean the accessible washer dispenser, door seal, or filter only as the appliance manual directs, then wipe the exterior and controls without spraying into openings.
- 33. Remove lint from the dryer lint screen before the next load and follow the dryer manufacturer's instructions for cleaning the screen and surrounding accessible area.
- 34. Vacuum or sweep the laundry, utility, or entry closet floor, including the corners around storage bins, then clean the floor with the appropriate method.
- 35. Sweep the balcony or patio, wipe outdoor furniture according to its material, and clean the door track and threshold gently without forcing debris into the interior.
Finish the apartment reset and decide when to book help
The final pass turns a collection of room tasks into a finished apartment. Walk each room with fresh eyes, beginning at the doorway. Look at eye level for smudges, then scan upward for missed dust and downward for crumbs, hair, or product residue. Return furniture only after floors are dry, put clean linens back on the bed, and restock the few everyday items you intentionally kept. This short review also helps you spot maintenance issues that cleaning will not solve, such as a slow drain, peeling finish, damaged grout, or a malfunctioning appliance.
If the checklist is more work than your schedule allows, a service can provide a structured starting point. Green Planet Cleaning Services offers an apartment cleaning service for homeowners and renters who want help with their home-cleaning plan. For simple flat-fee planning, a small one-bedroom deep clean starts from $300; a 2BR/2BA deep clean is about $480, a 3BR/2BA deep clean about $600, and a 4BR/3BA deep clean about $780. The apartment's condition, layout, and requested work affect the actual quote, so use /estimate for an exact quote.
- 36. Check windows, ledges, blinds, and mirrors in daylight and remove any lint or cleaner residue with a clean dry microfiber cloth.
- 37. Inspect baseboards, corners, door frames, and the edges of each room for remaining dust, then vacuum or wipe those areas with the appropriate tool.
- 38. Empty the vacuum or dispose of collected debris as directed by the appliance instructions, then clean and dry reusable tools before storing them.
- 39. Return furniture protectors, mats, bins, and daily-use items only after the relevant floor or surface is dry, taking care not to drag furniture over flooring.
- 40. Make a short maintenance note for any surface damage, appliance concern, or repair need that cleaning did not address, and contact the property manager or qualified service when appropriate.
Frequently asked questions
What is included in an apartment deep cleaning checklist?
A useful apartment deep-cleaning checklist reaches beyond the quick visual reset: dusting high and low surfaces, cleaning cabinet fronts and appliance exteriors, addressing the refrigerator or microwave as their instructions permit, cleaning the shower and toilet, vacuuming upholstery and edges, and treating floors according to their material. The exact scope should reflect your apartment's rooms, surface-care rules, and current condition. This guide groups 40 tasks into shared spaces, kitchen, bathroom, bedrooms, utility areas, and a final inspection so you can adjust it without losing the order of work.
How long does it take to deep clean an apartment?
The time depends on apartment size, the number of rooms, accumulated buildup, storage volume, floor types, and whether you are also doing laundry or decluttering. Instead of estimating by the clock alone, assign one completed room per work block and choose the tasks that matter most in that room. A kitchen and bathroom often need more detailed attention than a bedroom. Build in drying time for shelves, mats, and floors, and stop before rushing an unfamiliar surface or appliance.
What is the best order to deep clean an apartment?
Begin by clearing items and gathering care information, then work from higher surfaces to lower ones and from dry work to wet work. A practical sequence is: start laundry if you are washing linens or mats; dust rooms; clean bedrooms or living areas; clean the kitchen; clean the bathroom; then vacuum and clean floors as the final room-level step. Finish with a walk-through for lint, residue, and repair needs. This order prevents dust and crumbs from landing on floors or counters you have already cleaned.
How should renters clean apartment surfaces without risking damage?
First identify the material and consult the surface, appliance, or property-manager care guidance. Follow product labels, test an appropriate product in an inconspicuous spot when guidance allows, and use nonabrasive tools unless the manufacturer specifies otherwise. Avoid soaking wood-based materials, spraying controls or outlets, forcing removable appliance parts, and using a one-size-fits-all cleaner on every finish. Photograph pre-existing damage before a move-related cleaning and report issues such as leaks, loose fixtures, or failing appliances rather than attempting repairs yourself.
When should I book an apartment cleaning service instead of doing a deep clean myself?
Consider booking help when your time is limited, several rooms need attention at once, or you want a structured reset before returning to a maintenance routine. It is also sensible to seek specialized guidance rather than improvising on a surface or appliance with unclear care instructions. Green Planet Cleaning Services can help with a home-cleaning plan; use /estimate for an exact quote based on your apartment and requested work. For planning only, deep-clean starting points include a small one-bedroom from $300 and a 2BR/2BA at about $480.
Need help with the next step? Explore apartment cleaning service or request a flat-fee estimate for your home.
Let Green Planet Handle the Cleaning
Family-owned since 2010. 100% eco-friendly. Greentified™ Guarantee — if you're not happy, we re-clean for free within 24 hours.
Serving Marin County, San Francisco, Sonoma, Napa, San Mateo & Contra Costa.